03: 2D Design & Cutting
Assignment
Create a press-fit construction kit.
Creating a Cardboard Press-Fit Kit using Fusion 360
I used Autodesk Fusion 360 to design a simple square shape with notches (.dxf can be downloaded here), which can be used as a connecting piece in a simple cardboard press-fit kit. This can be done by simply creating a realistically sized square, using construction lines and the mirroring tool to cut out the "notches" and then creating a 3D extrusion like so:
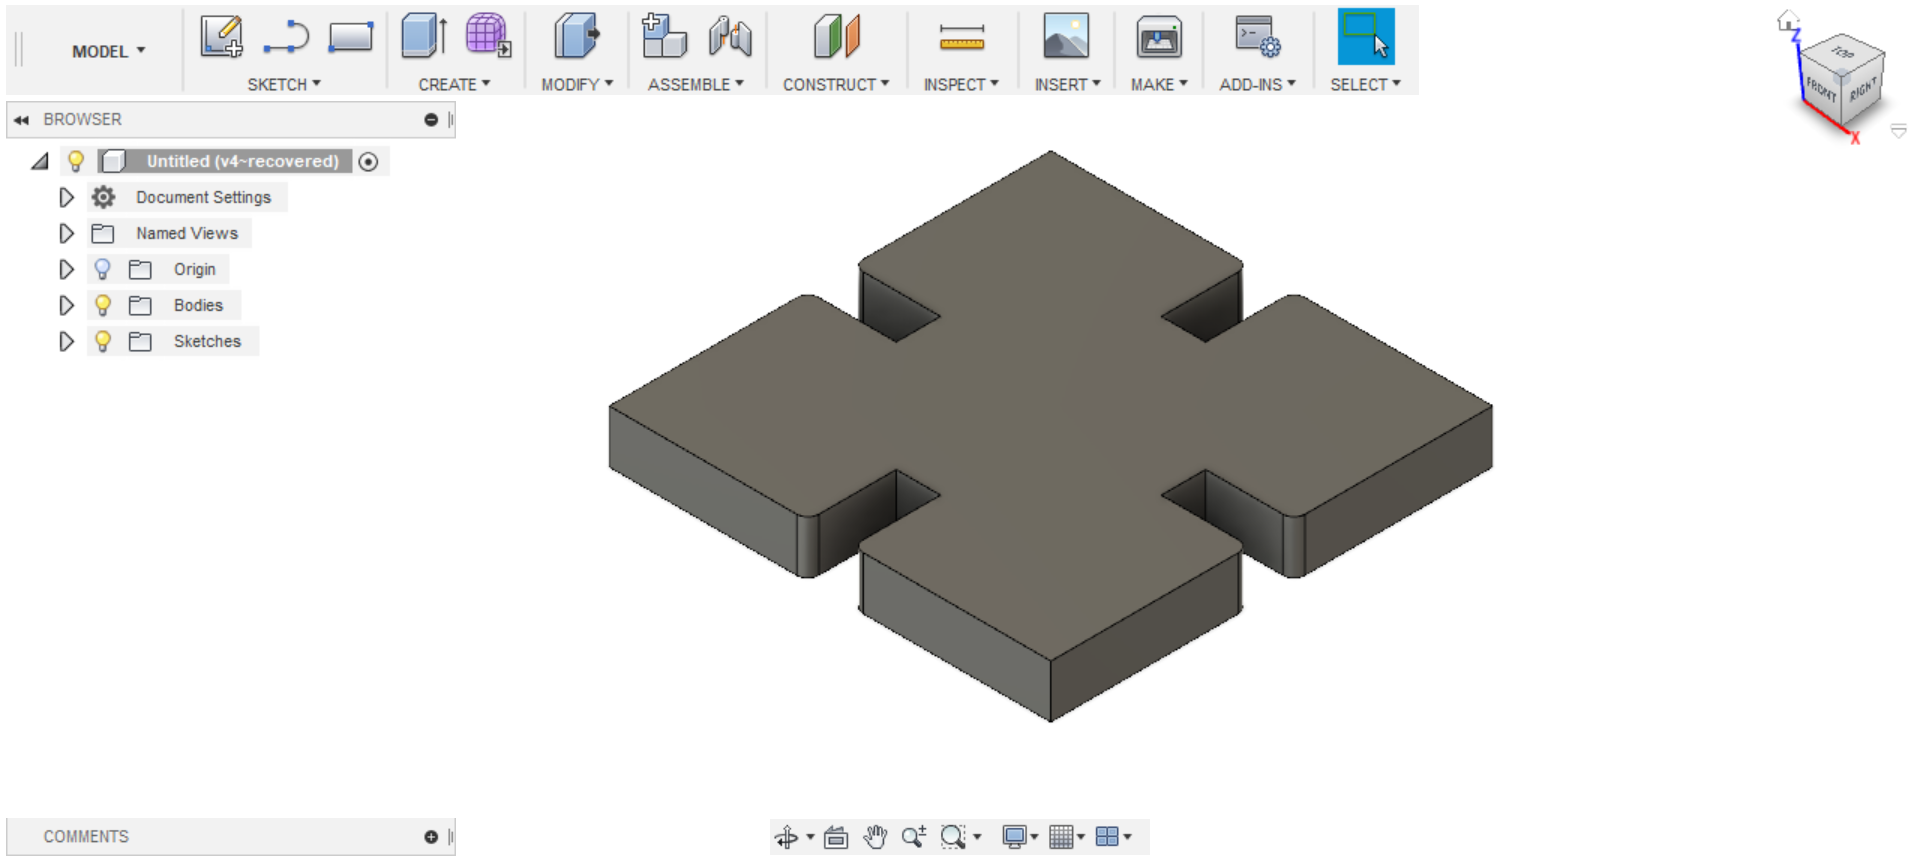
The extrusion tool is nice because it allows you to pick and choose which surfaces to "pull" into the third dimension, while ignoring the ones you don’t need, and this allows me to create the notches I need without the loss of information that occurs when I simply trim out the notches. I then create a 2D outline of the 3D shape, convert it into a .dxf file, and send it to the laser cutter:
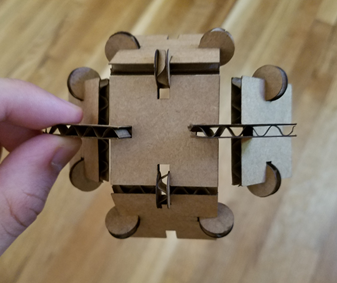
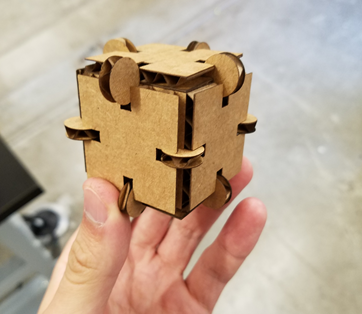
Now I’m good to go. I also cut out some simple triangle and circle connectors, and I can create some simple shapes out of this "press-fit kit," such as this dome and cube:
Creating a Decal using a Vinyl Cutter
I wanted to try making a decal for my laptop, so I downloaded this image of the Elder Sign from the Cthulu Mythos, taken from the Wikimedia Commons:

Luckily, I don’t need to design my own Elder Sign since the program that the Vinyl Cutter uses automatically traces out the design for me.
After cutting out the decal, I simply use some transfer paper to press it to my laptop like so:
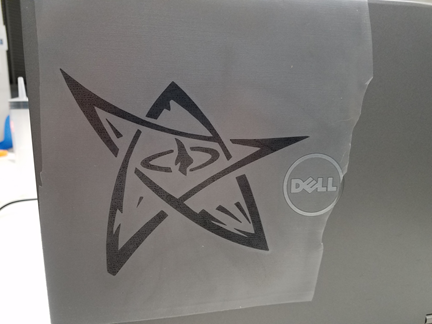
Then I peel off the transfer paper:
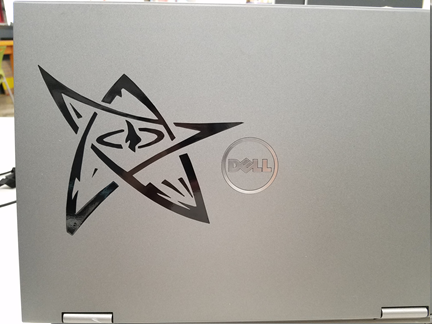
…and voila.
Original image by August Derleth and Nurbldoff.