07: Electronic Input Devices
Assignment
Make a sensor to measure a physical quantity with the Arduino. Calibrate your sensor. Show data in the form of a table or graph.
Using a Solenoid Air Valve
Using the three-pronged air hose connector I 3D printed, I was able to implement the solenoid air valve into a pressure release mechanism:
In conjunction with the air pump motor, this allows me to control the air pressure inside an object at will.
Building a MacGyver Air Pressure Sensor
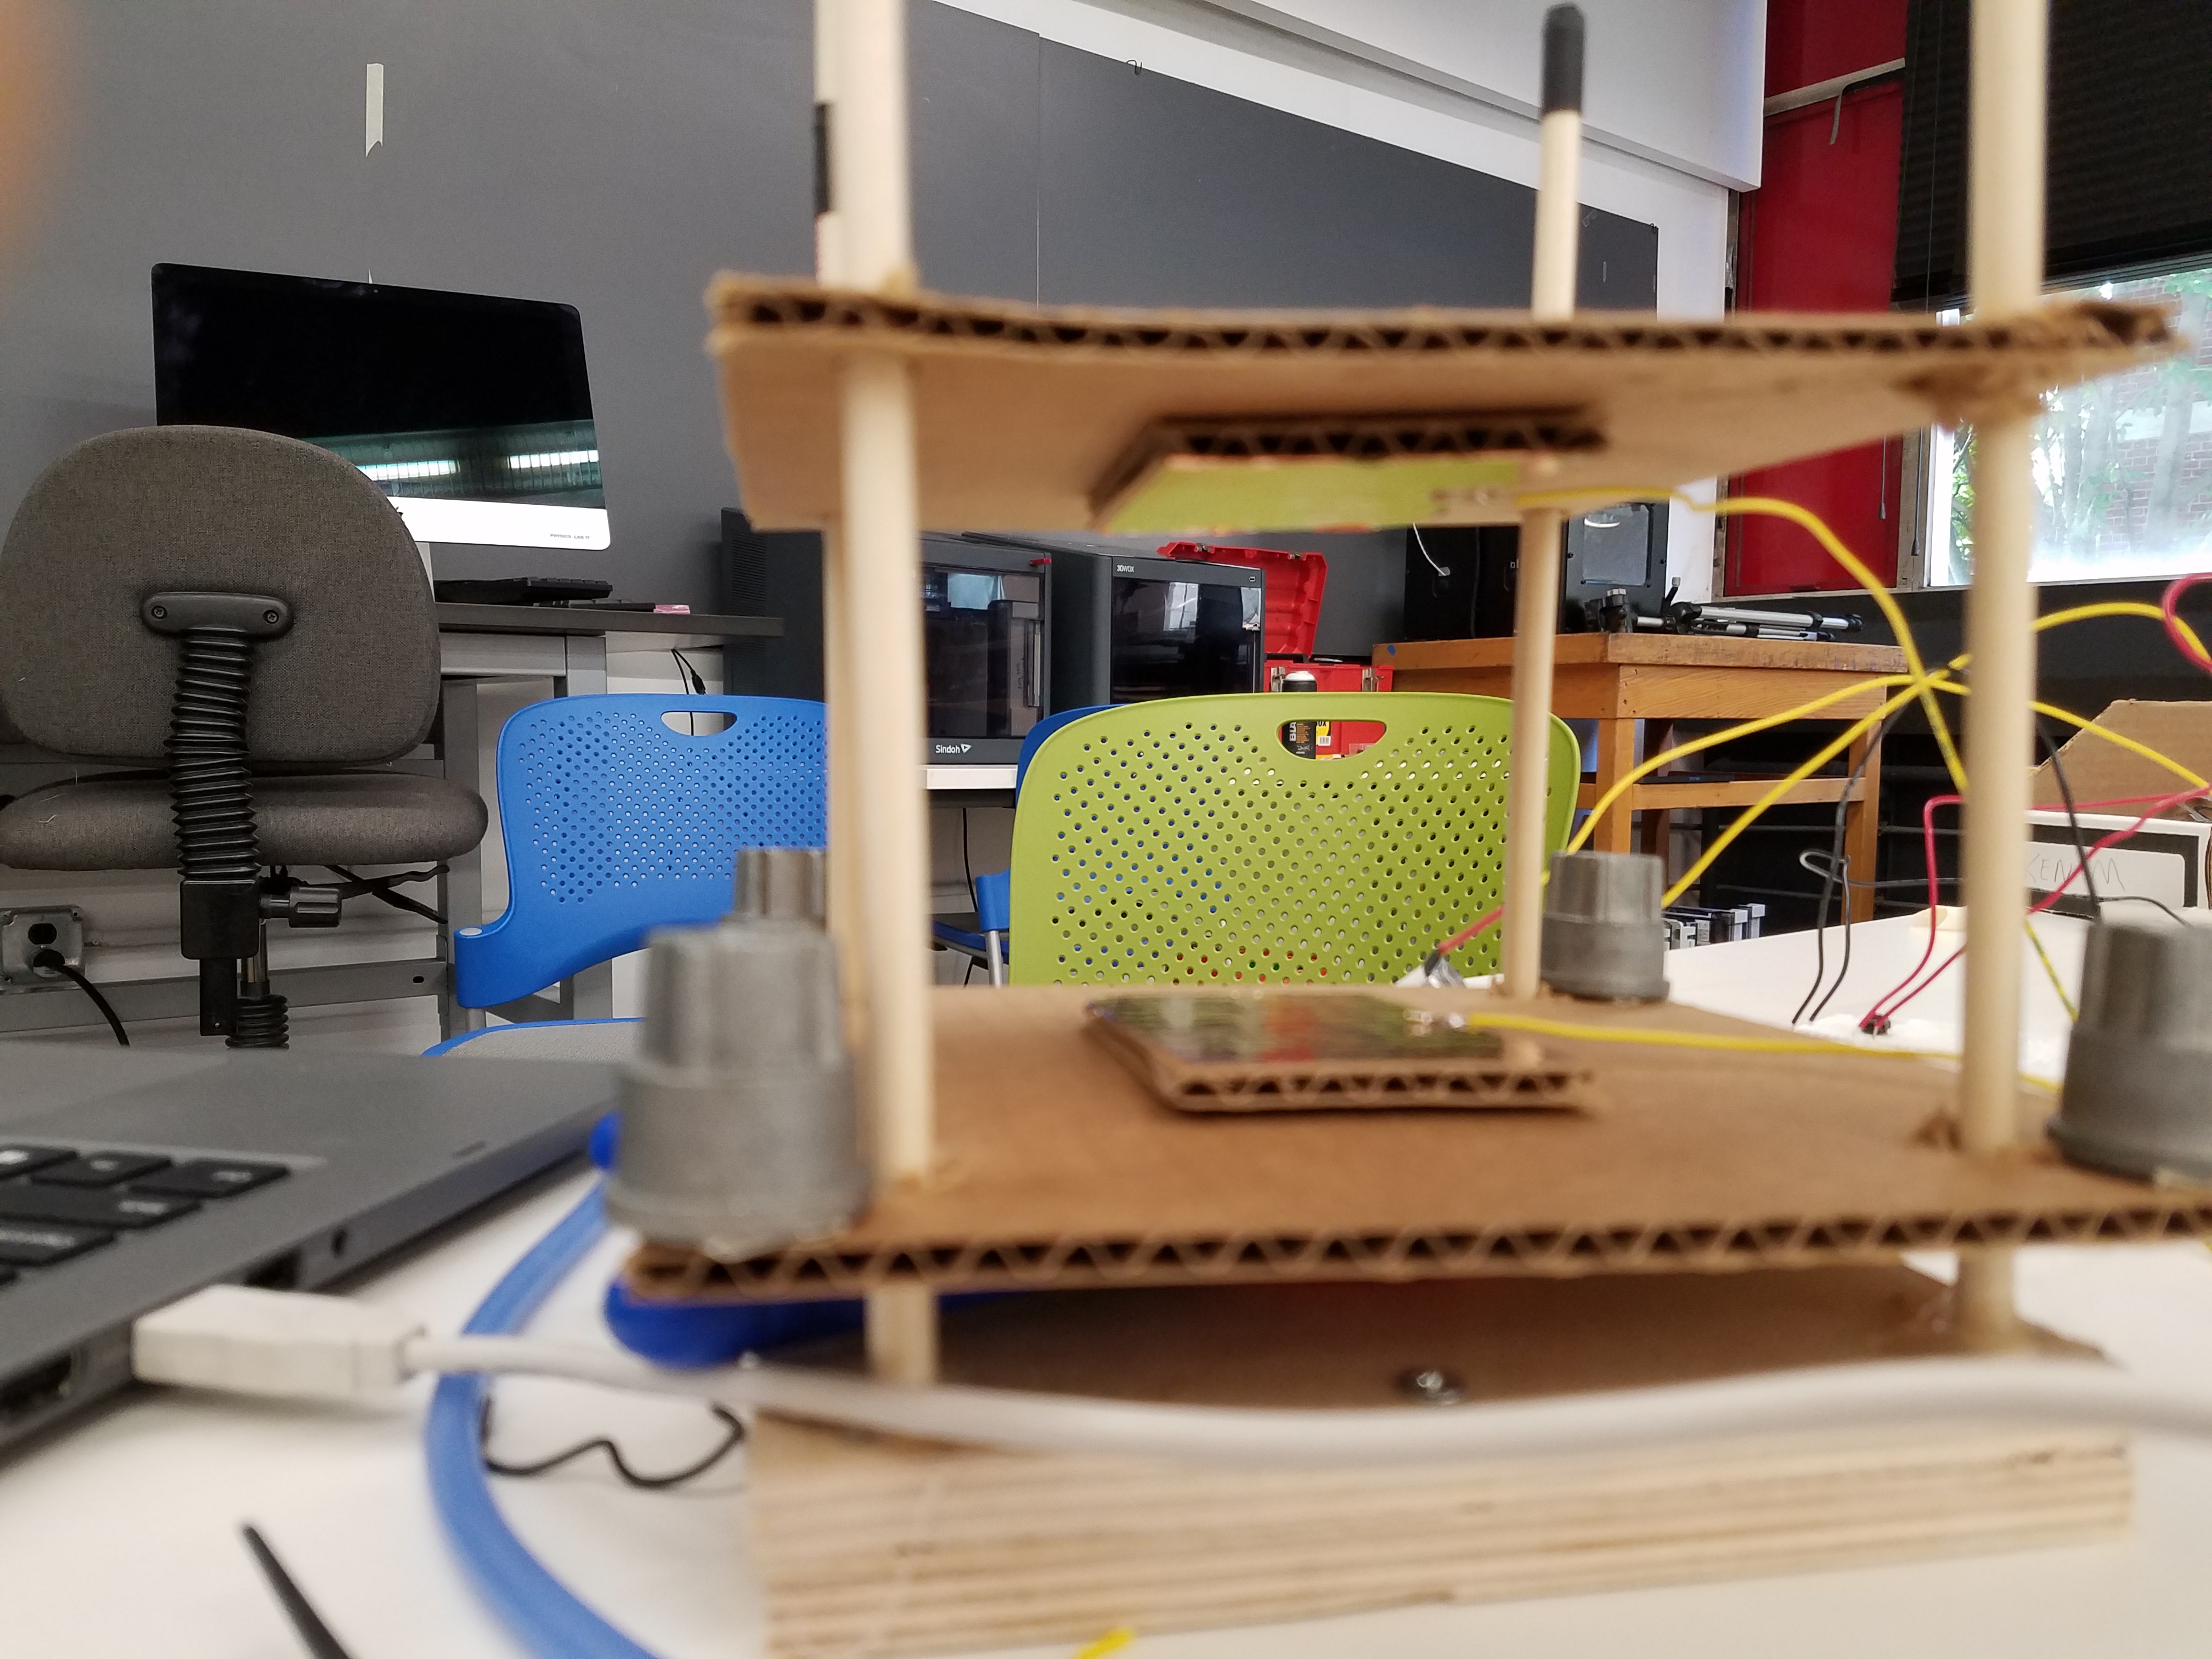
Using a balloon, two pieces of wood, two pieces of cardboard, some copper foil, four dowels, four heavy lugnuts, and some tape, I was able to improvise this air pressure sensor:
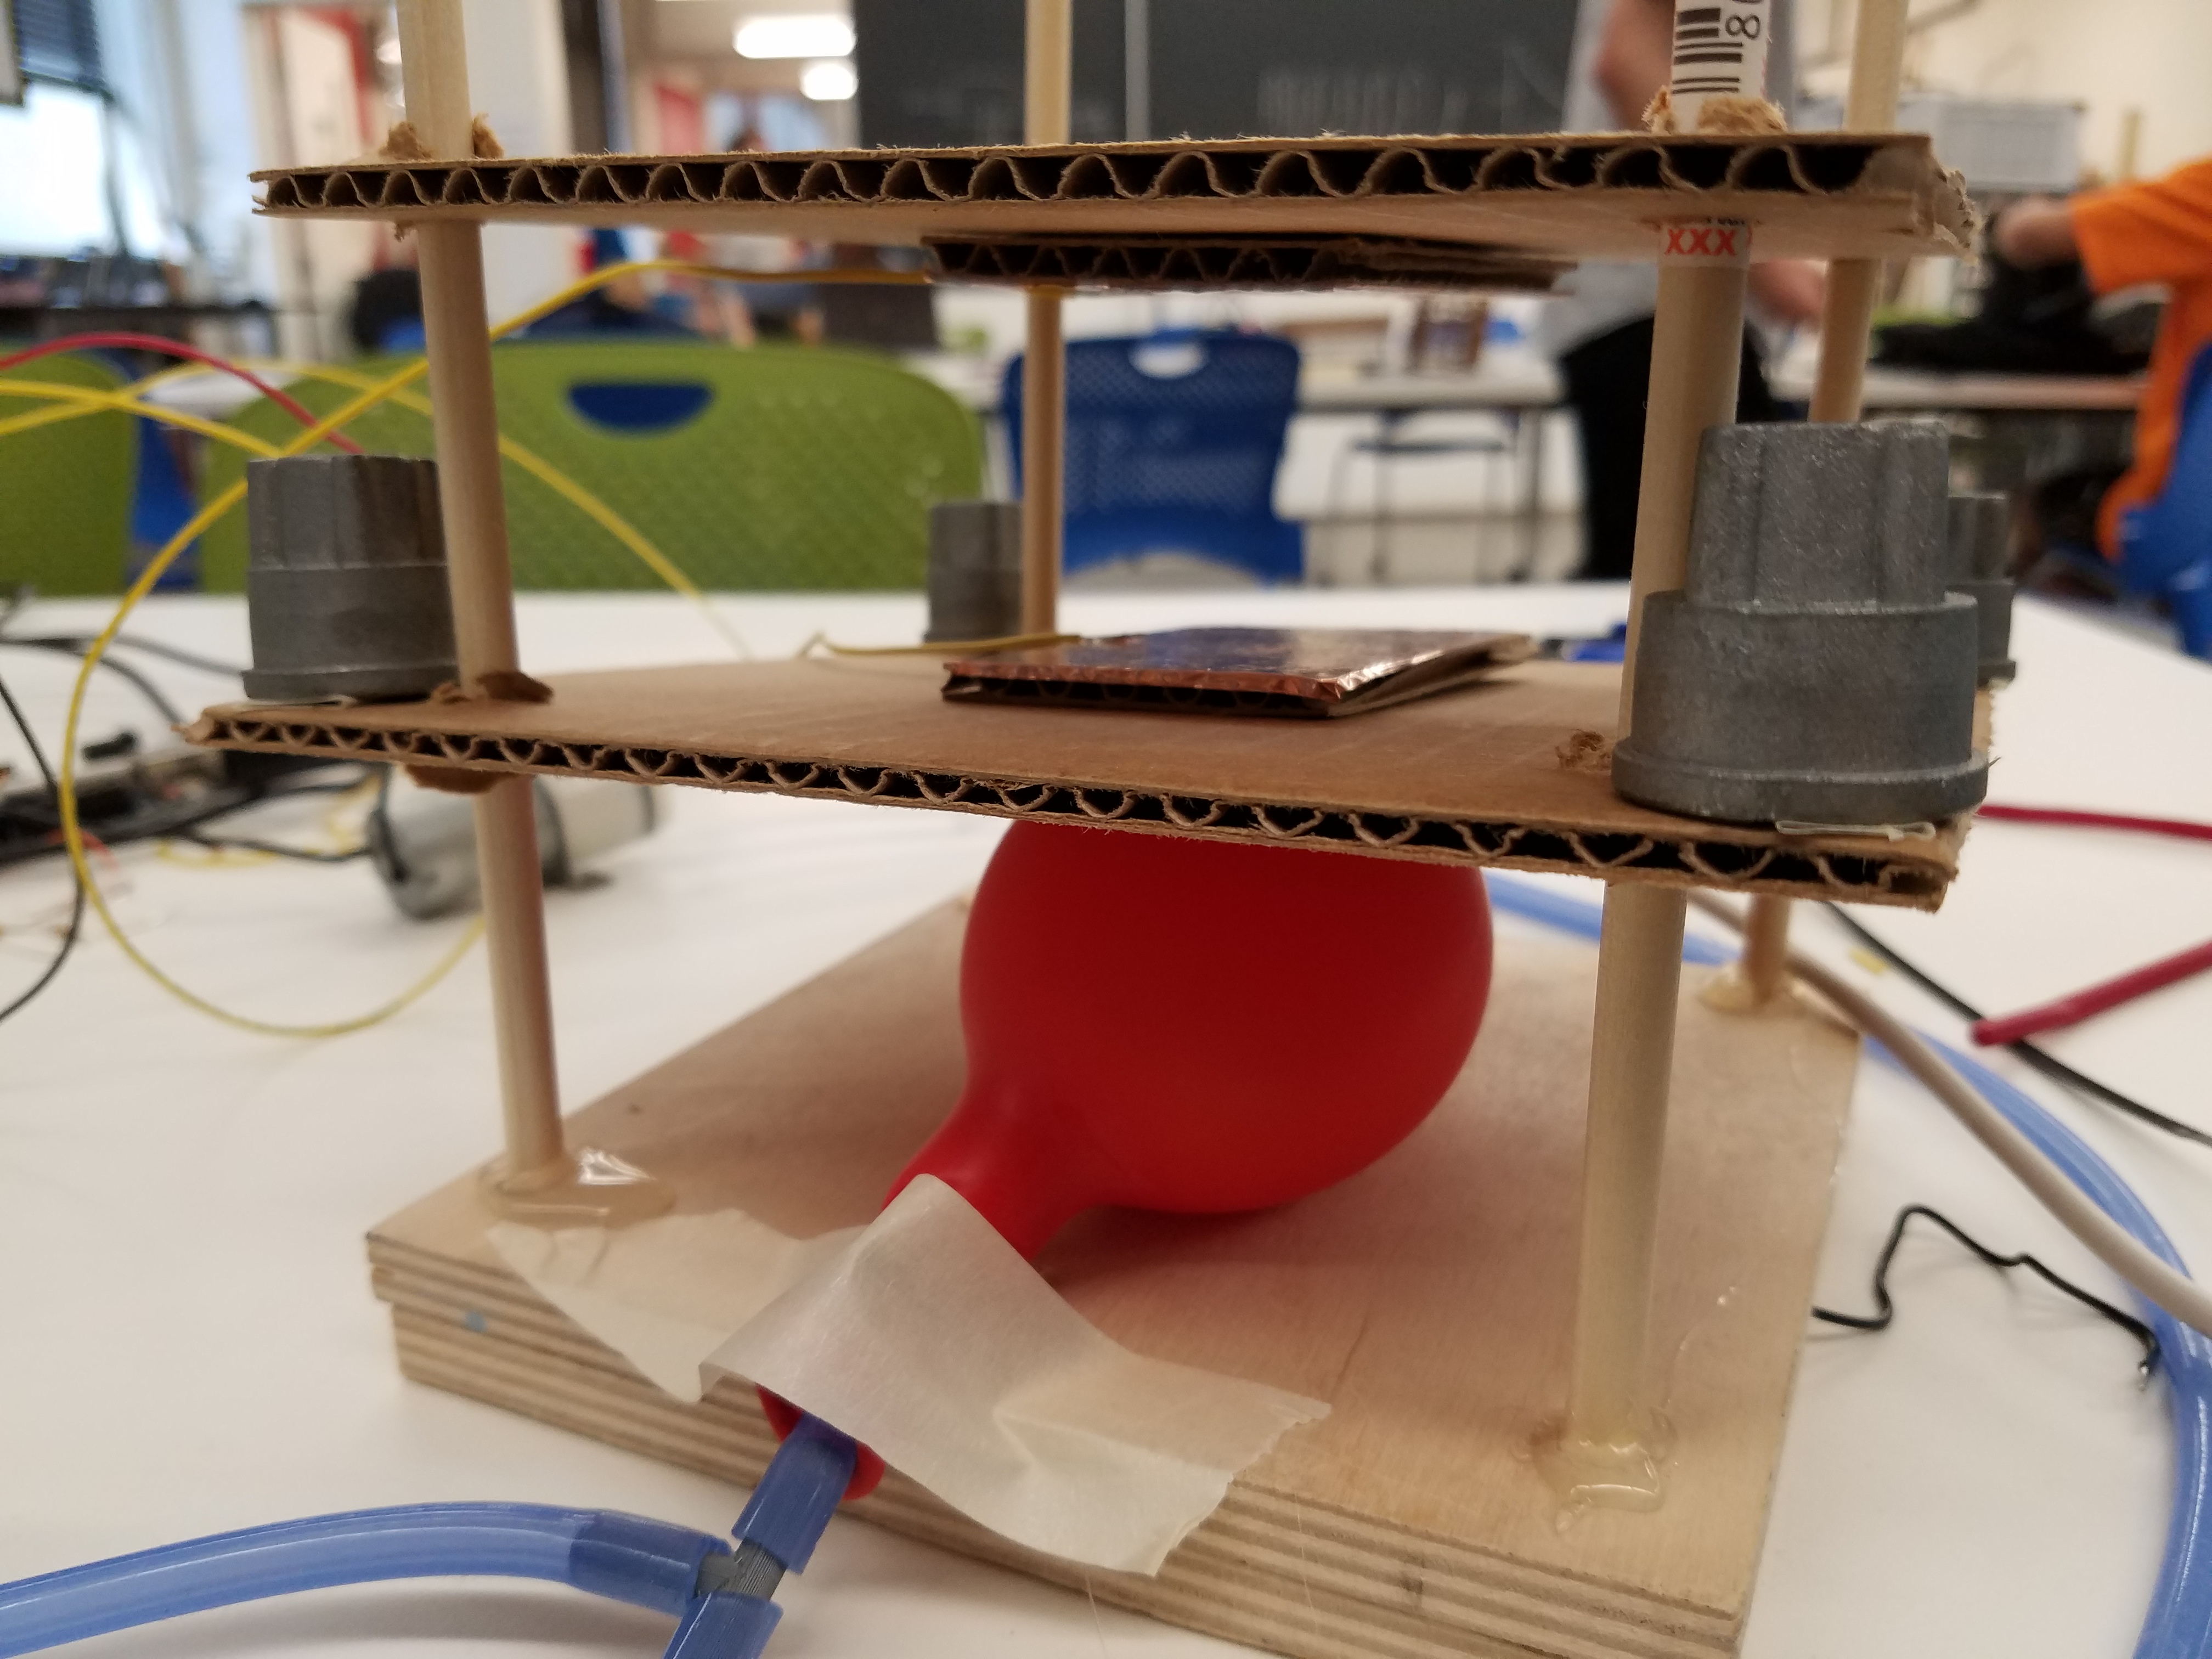
The two pieces of copper foil are taped between the two pieces of cardboard, acting as a parallel plate capacitor.
When the balloon expands (i.e. the air pressure increases), the energy between the plates increases, as you can see in the graph from the following video:
The Arduino program I used for this sensor is the Capacitance program Rob created:
//rx_tx02  Robert Hart Mar 2019.
//  Program to use transmit-receive across space between two conductors.
//  One conductor attached to pin4, one to A0
//
//  Optionally, two resistors (1 MOhm or greater) can be placed between 5V and GND, with
//  the signal connected between them so that the steady-state voltage is 2.5 Volts.
//
//  Signal varies with electric field coupling between conductors, and can
//  be used to measure many things related to position, overlap, and intervening material
//  between the two conductors.
//


int read_high;
int read_low;
int diff;


void setup() {
pinMode(4,OUTPUT);      //Pin 4 provides the voltage step
Serial.begin(9600);
}

void loop() {


   digitalWrite(4,HIGH);              //Step the voltage high on conductor 1.
   read_high = analogRead(A0);        //Measure response of conductor 2.
   delayMicroseconds(100);            //Delay to reach steady state.
   digitalWrite(4,LOW);               //Step the voltage to zero on conductor 1.
   read_low = analogRead(A0);         //Measure response of conductor 2.
   diff = read_high - read_low;       //desired answer is the difference between high and low.

Serial.println(diff);
//delay(100);


}
Problems with the MacGyver Air Pressure Sensor
-
The bottom cardboard platform wobbles and will lift up at an angle. I attempted to mitigate this using four lugnuts as balancing weights, but this did not completely eliminate the problem
-
The diameter of the balloon does not increase linearly with the amount of air pressure being pumped into it
-
The balloon will not maintain its structural integrity over time, making this sensor unreliable and needing to be recalibrated on a regular basis
The first problem can be fixed by building a more rigid structure using machined metal parts and some form of lubrication to make the platform rise smoother. Furthermore, the bottom platform can be turned into more of a cubic shape (as opposed to a flat plate) in order to eliminate the wobble. This could be constructed with a milling machine, a horizontal saw, and a lot of patience.
Or I can just use this nice Differential Pressure Sensor Rob gave me
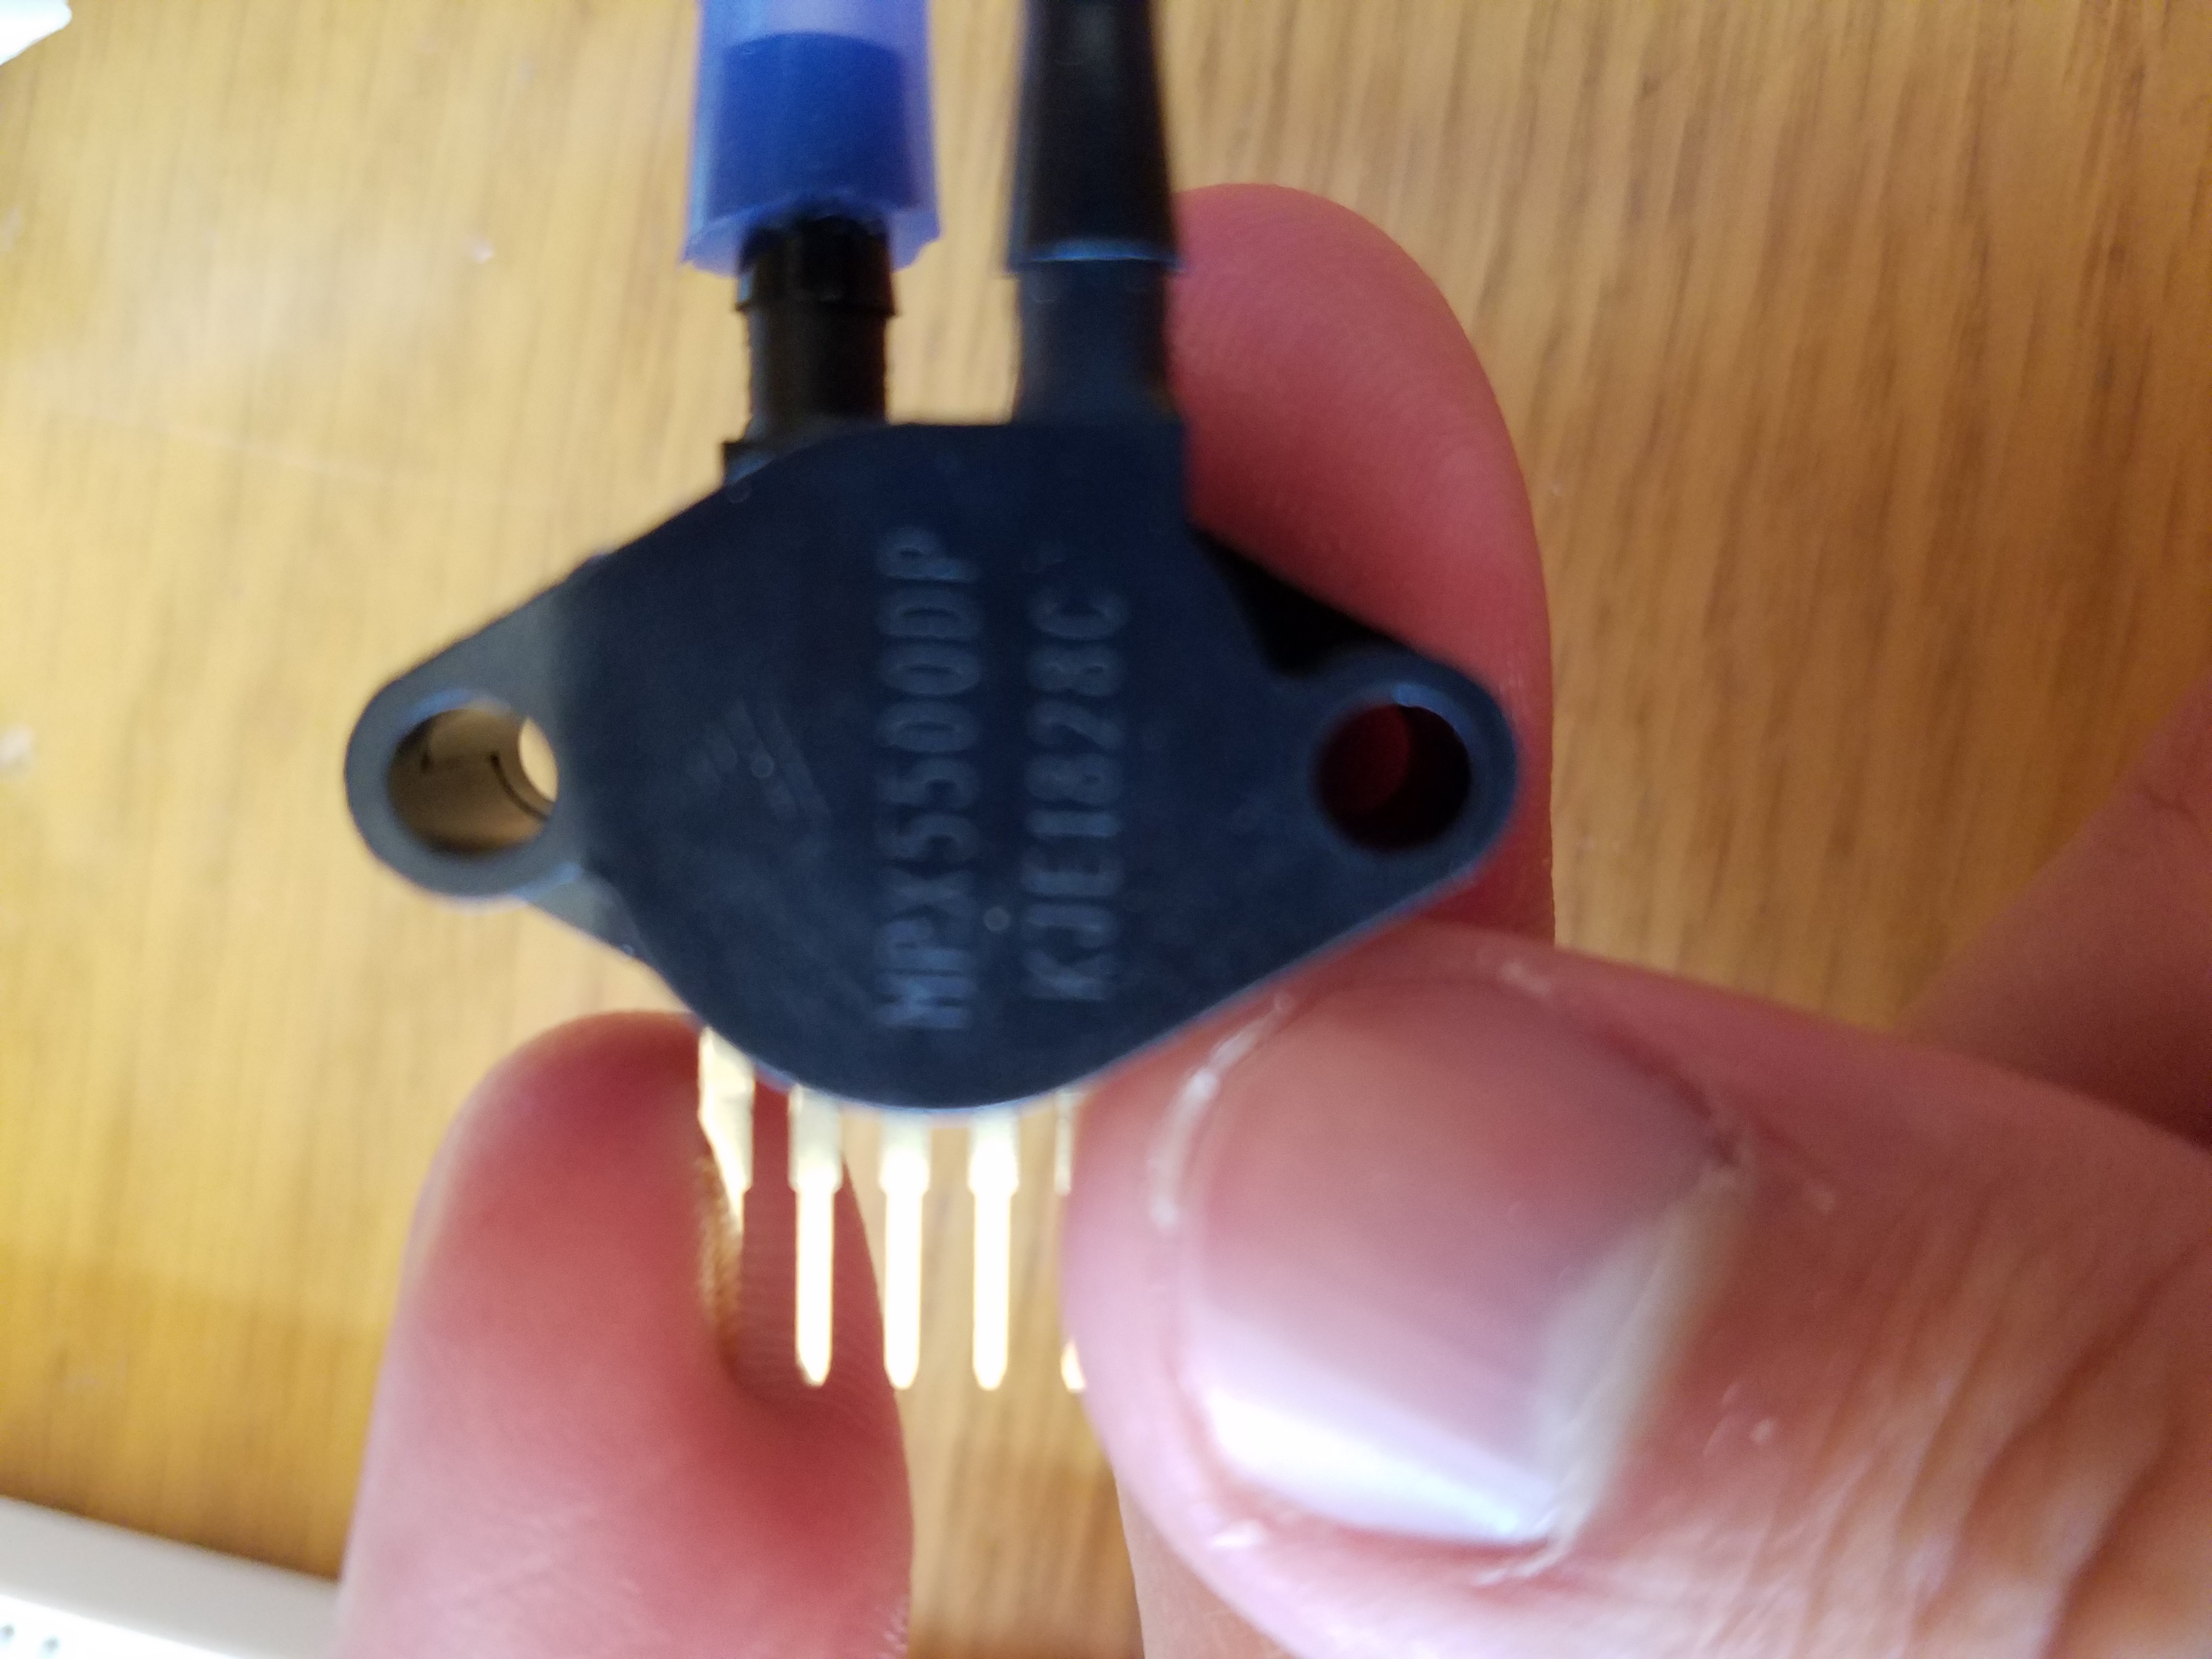
Using this sensor is really nice, but it creates a very spiky plot. In order to reduce this spikyness, I used this modified version of David Cuartielles’s analog input code, which averages the values of the sensor over 150 samples.
/*
  Analog Input

  Demonstrates analog input by reading an analog sensor on analog pin 0 and
  turning on and off a light emitting diode(LED) connected to digital pin 13.
  The amount of time the LED will be on and off depends on the value obtained
  by analogRead().

  The circuit:
  - potentiometer
    center pin of the potentiometer to the analog input 0
    one side pin (either one) to ground
    the other side pin to +5V
  - LED
    anode (long leg) attached to digital output 13
    cathode (short leg) attached to ground

  - Note: because most Arduinos have a built-in LED attached to pin 13 on the
    board, the LED is optional.

  created by David Cuartielles
  modified 30 Aug 2011
  By Tom Igoe

  This example code is in the public domain.

  http://www.arduino.cc/en/Tutorial/AnalogInput
*/

int sensorPin = A0;    // select the input pin for the potentiometer
int ledPin = 13;      // select the pin for the LED
int sensorValue = 0;  // variable to store the value coming from the sensor
int read_high;
int read_low;
int diff;
float sum;
int N_samples = 150;

void setup() {
  // declare the ledPin as an OUTPUT:
  pinMode(ledPin, OUTPUT);
  Serial.begin(9600);
}

void loop() {

  sum = 0;

  for (int i = 0; i < N_samples; i++) {
    int sample = analogRead(A0);        //Measure response of conductor 2.
    delay(1);
    sum += sample;                       //Sums up N_samples of these measurements.
  }
  sum /= N_samples;
  Serial.println(sum-35);
  //delay(100);

}
Calibrating the differential pressure sensor was simply a matter of subtracting 35 from the sum, since the baseline value that the sensor outputs when the vacuum intake is sealed is 35.
Interestingly, it appears that the amount of air pumped into a balloon or soft gripper is NOT a function of air pressure:
| t | sensor value |
|---|---|
| 0 | 0 |
| 2 | 4 |
| 4 | 7 |
| 6 | 12 |
| 8 | 19 |
| 10 | 21 |
| 12 | 23 |
| 14 | 24 |
| 16 | 23 |
| 18 | 25 |
| 20 | 23 |
| 22 | 24 |
The air pressure rises briefly when the balloon is initially blown up, but it reaches a peak value even when the balloon is still expanding. This means that using a differential pressure sensor may not be the ideal way to prevent a soft gripper from popping. Instead, the best way seems to be using the syringe or a motorized version of a syringe, which has a hard limit to how much air can be pumped in.