08: CNC Milling
Assignment
Design a 3D solid and export an stl file. Machine a foam mold using this stl. Use the mold to make a composite shell.
Using Shopbot to Create a UFO
At first, I wanted to make something funny so I designed this smiley face in Fusion 360:
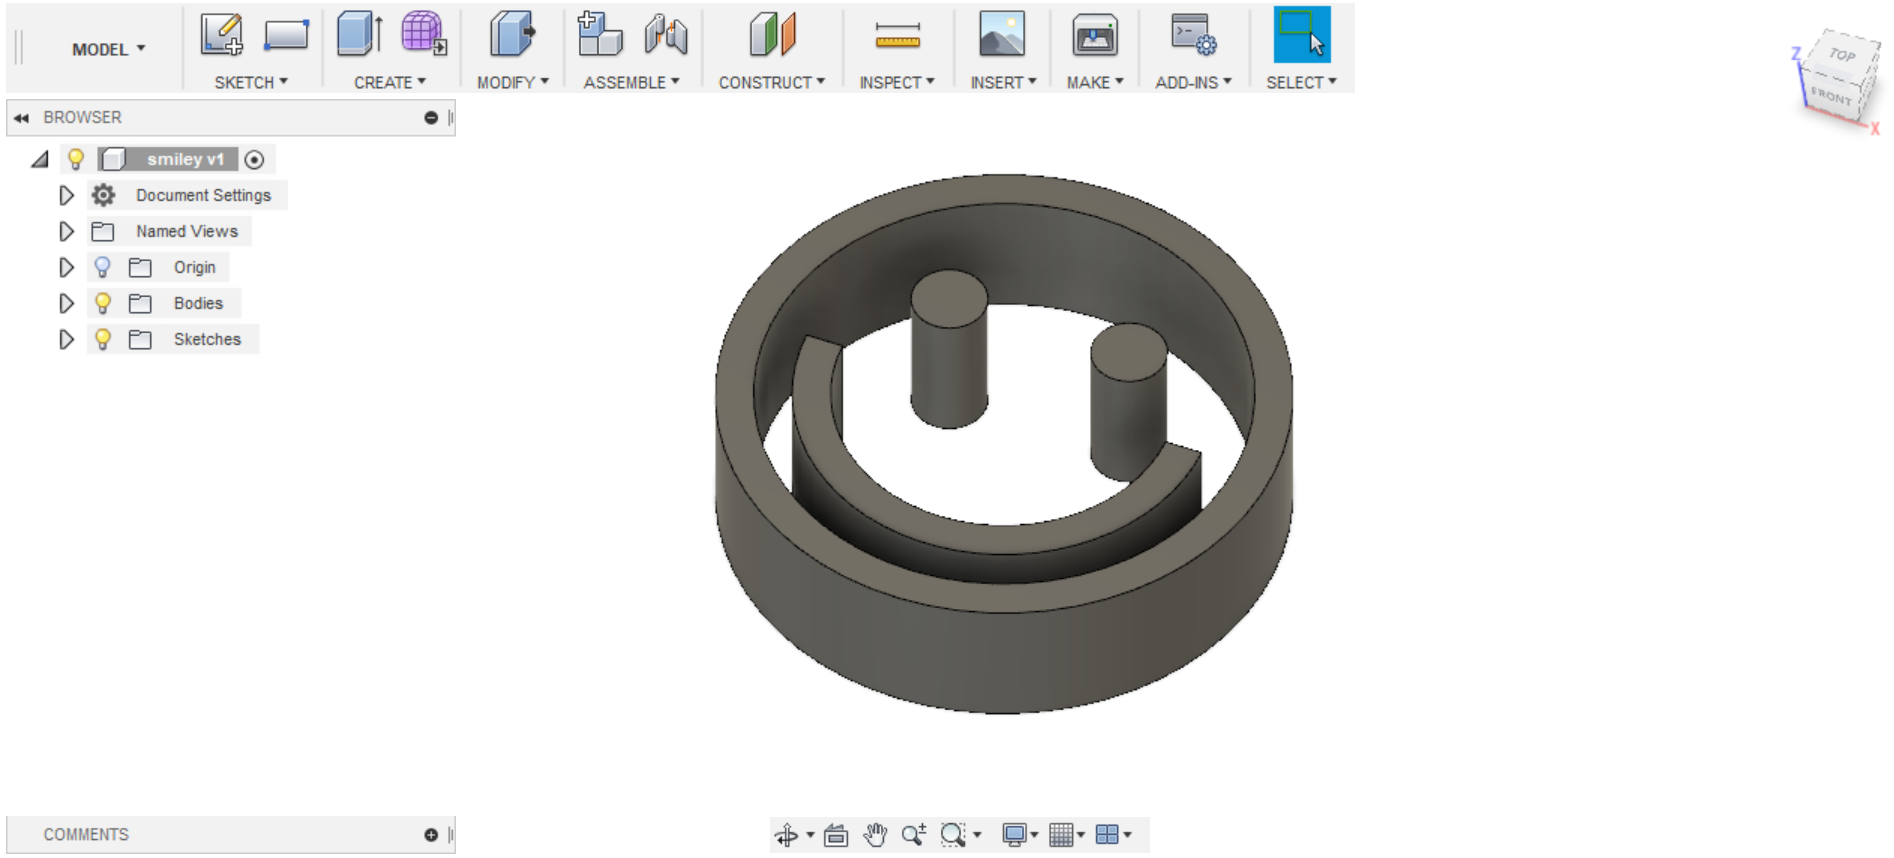
However, Nathan advised me that this would become problematic as the "mouth", "eyes", and "face" weren’t connected, and as such would not make a very good mold. It would also be awkward to export all three as the same .stl file.
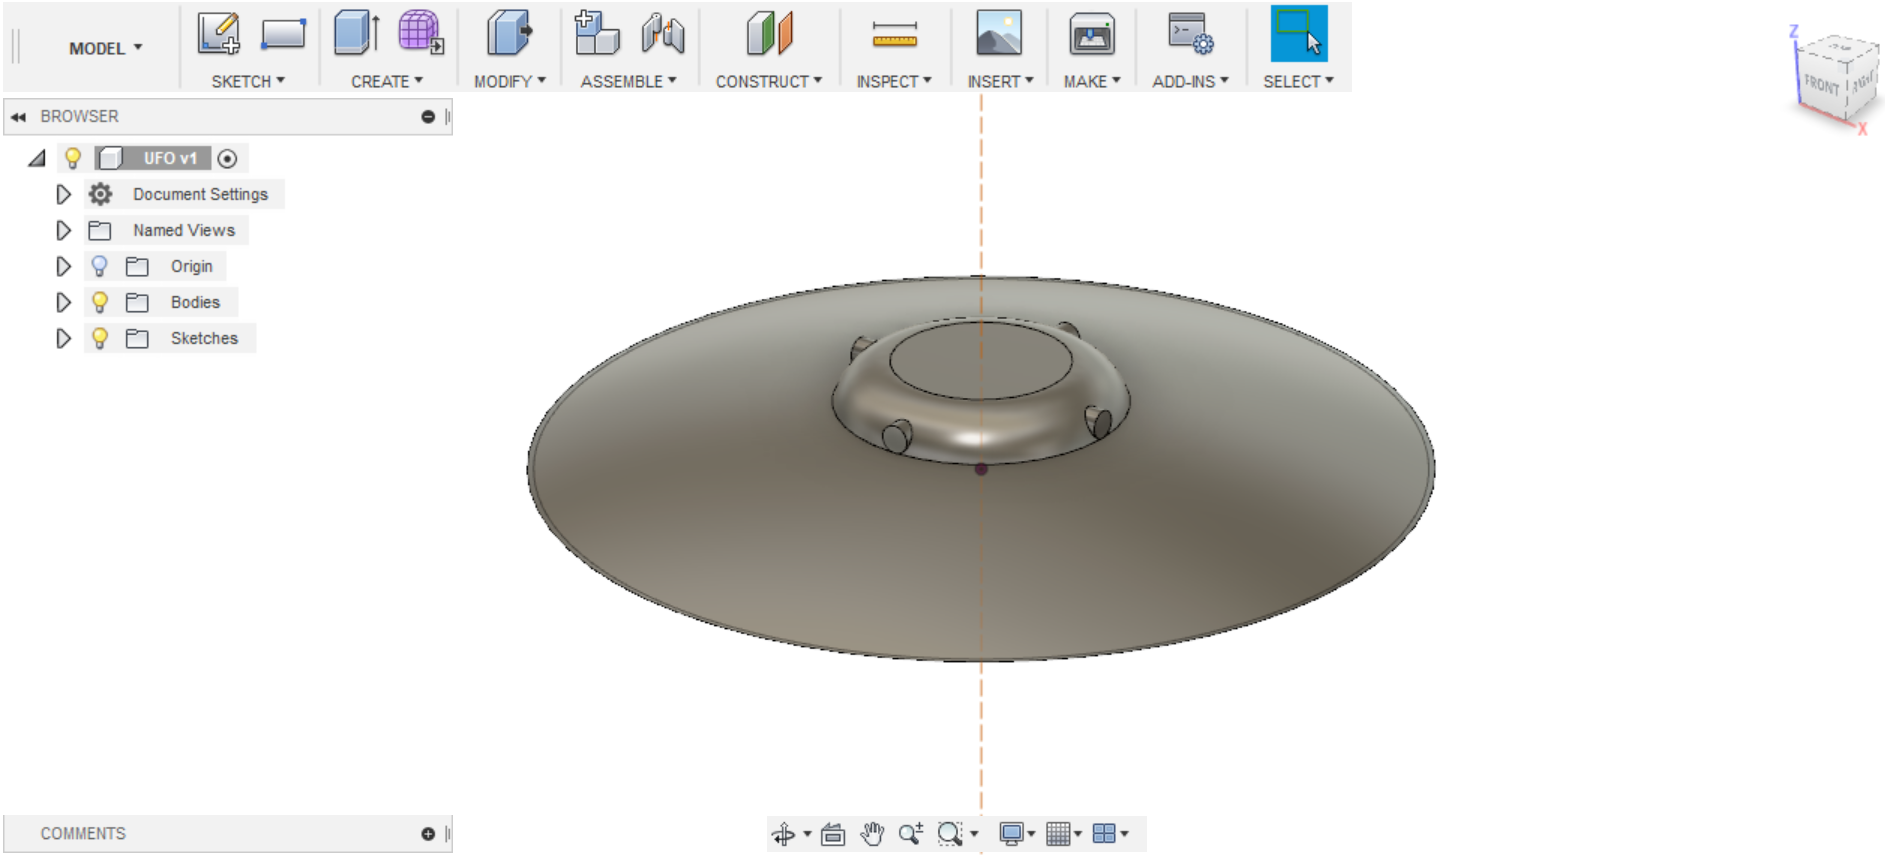
I didn’t feel like editing the smiley model to be one piece, so I instead decided to start over and make a UFO (.stl file can be downloaded here).
I then put the .stl file into Shopbot’s PC. Shopbot has some software which allows the user to determine how to sculpt the object out of some pink foam.
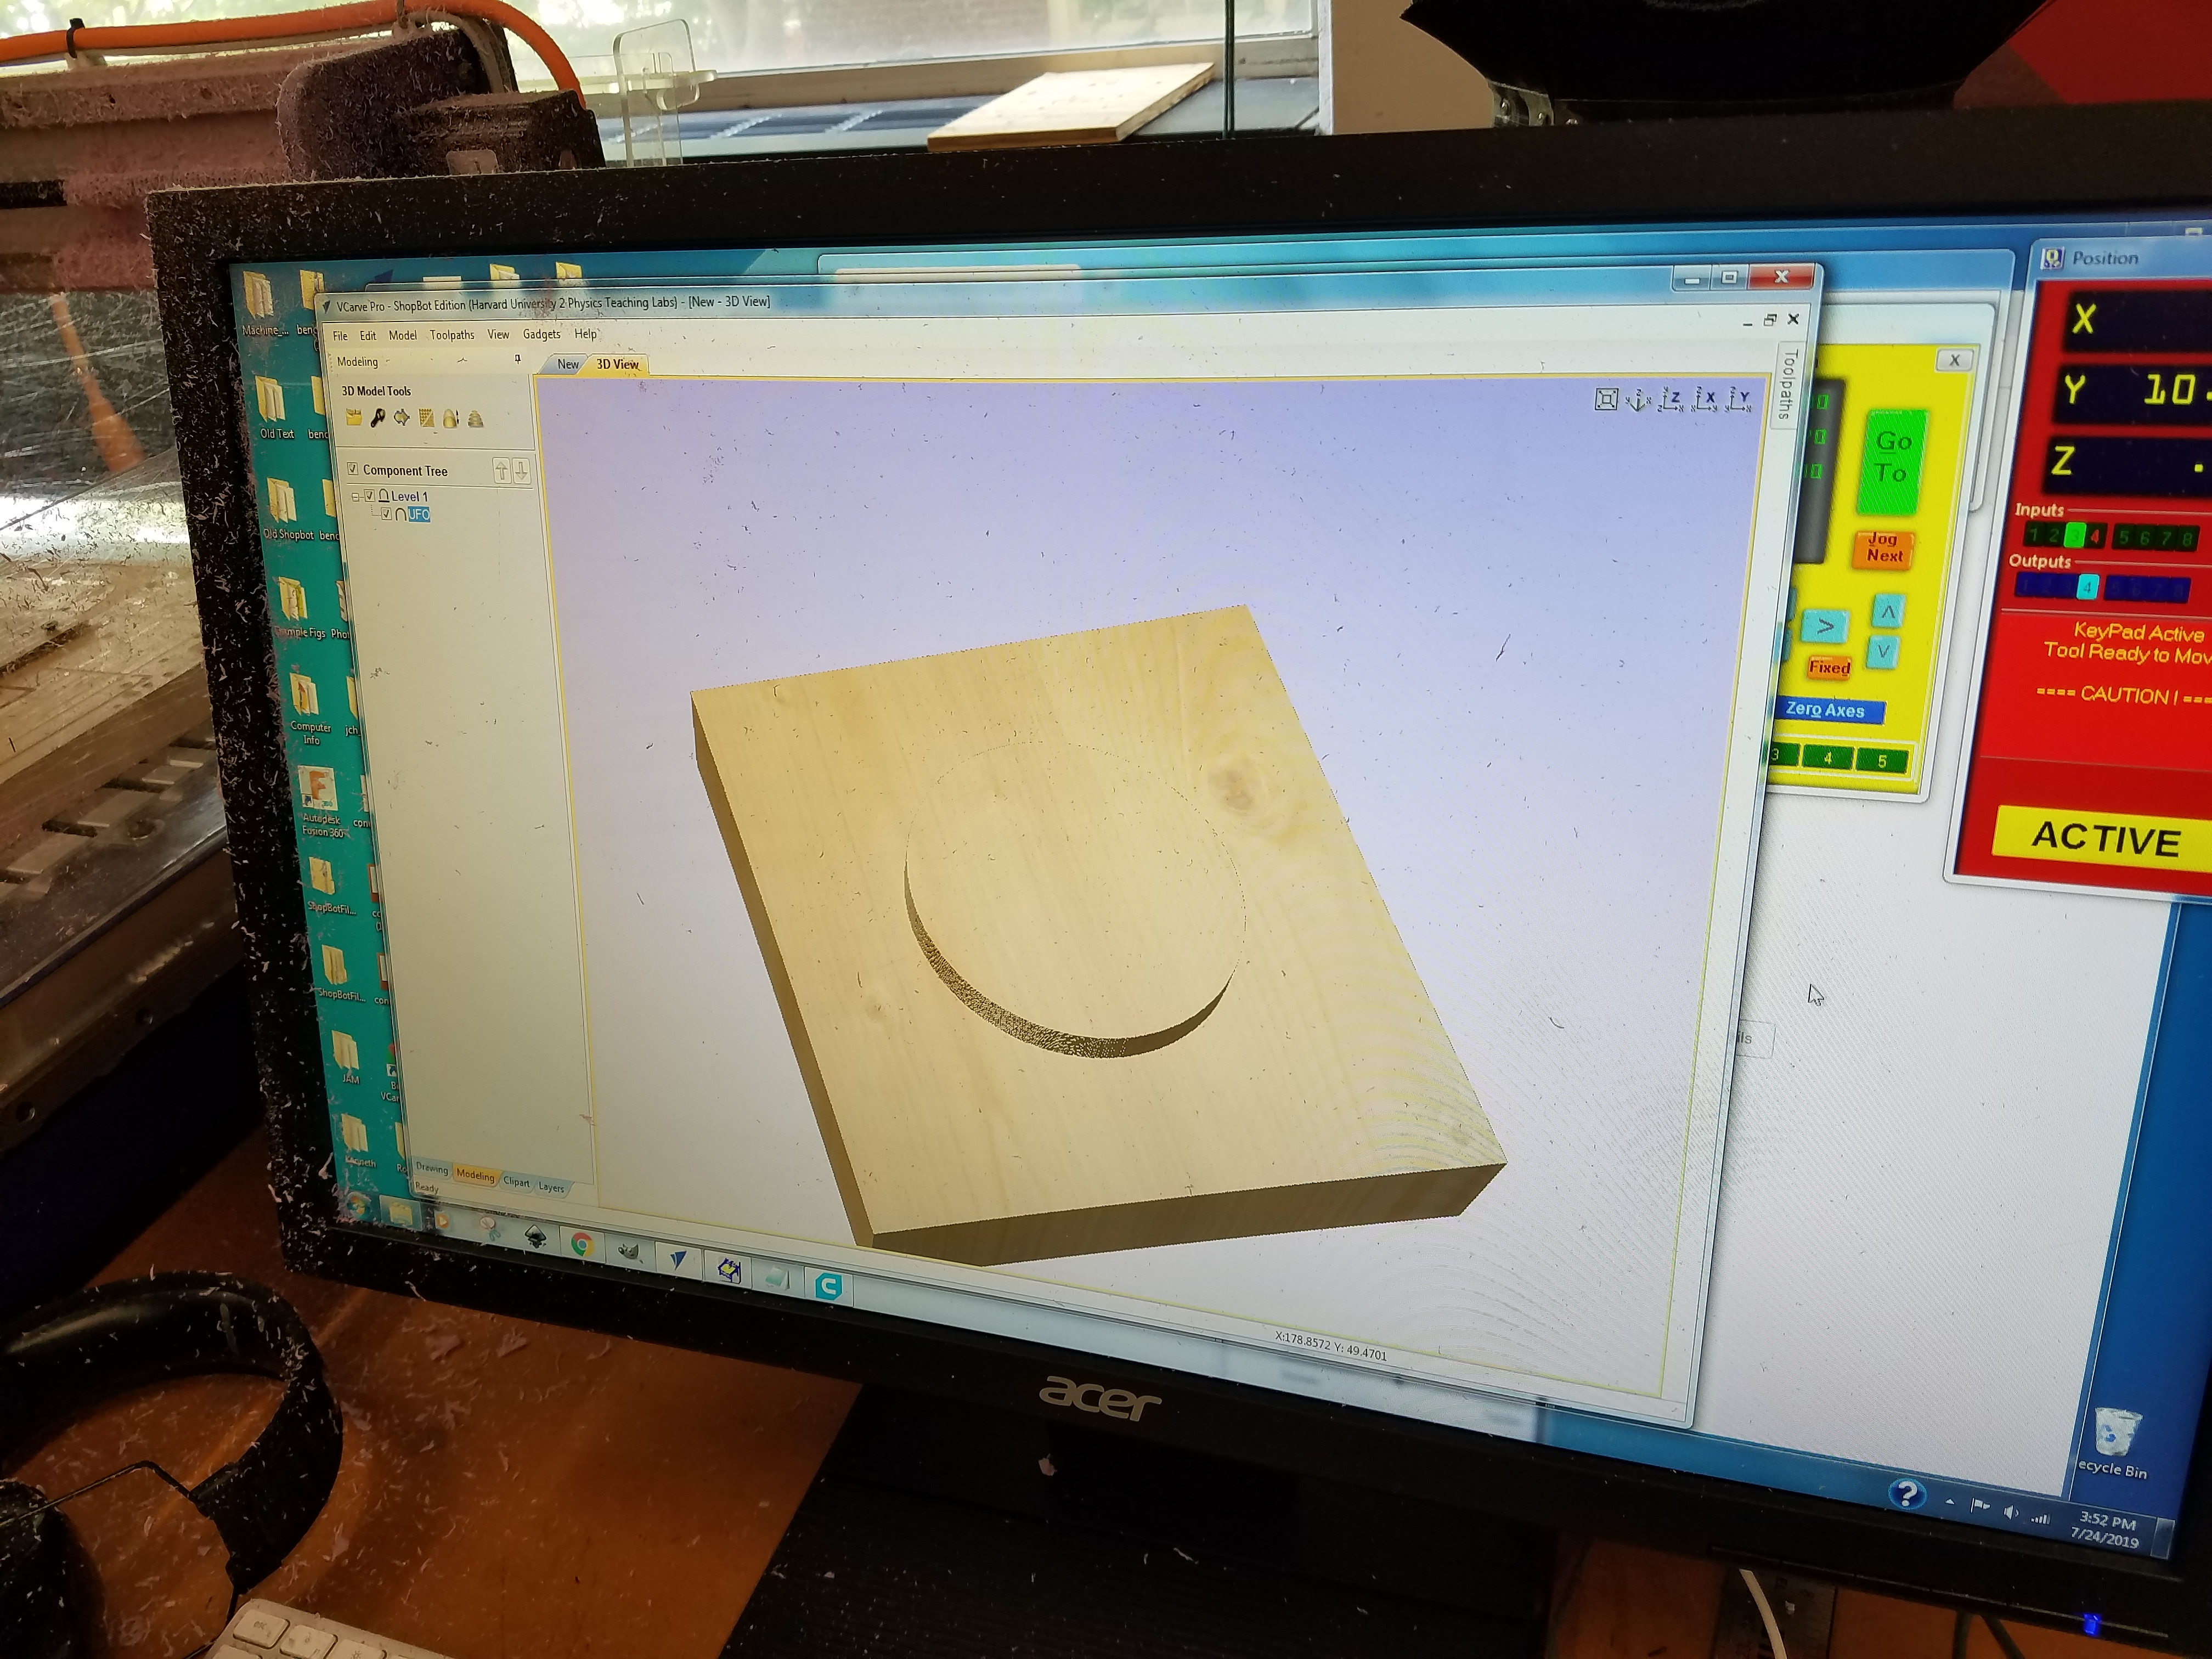
Shopbot sculpts the foam in two phases; first is the "rough" phase:
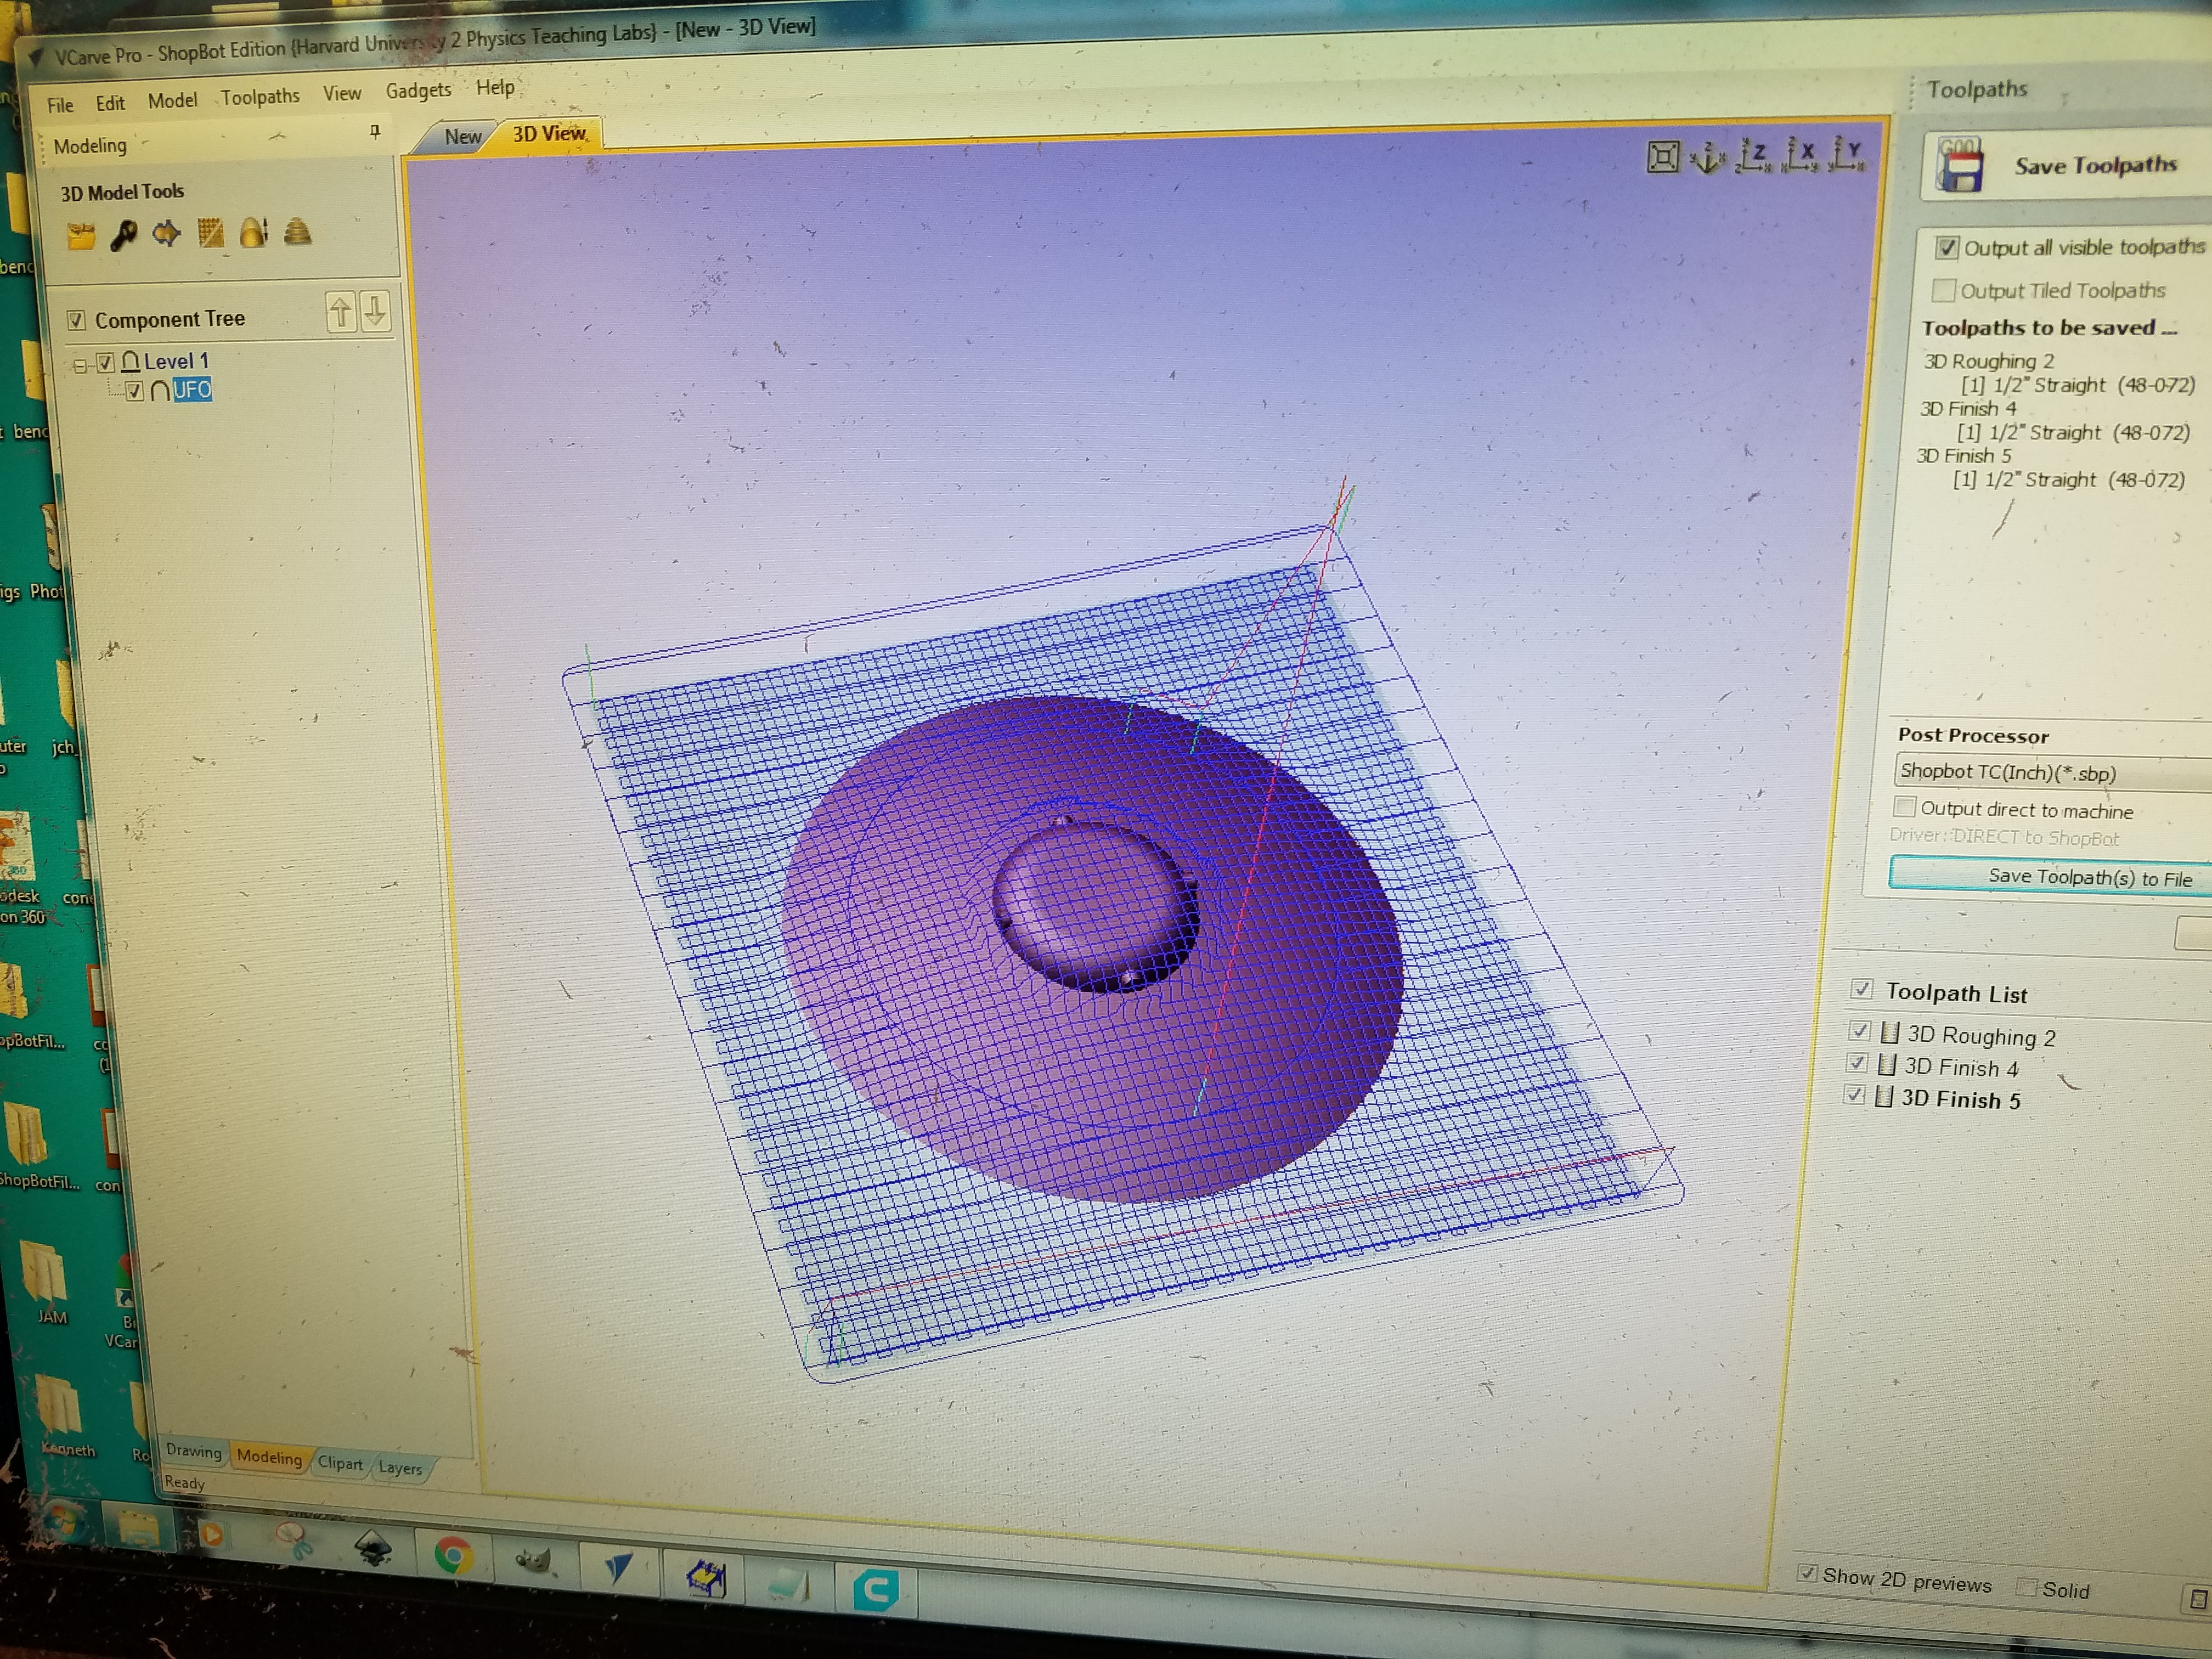
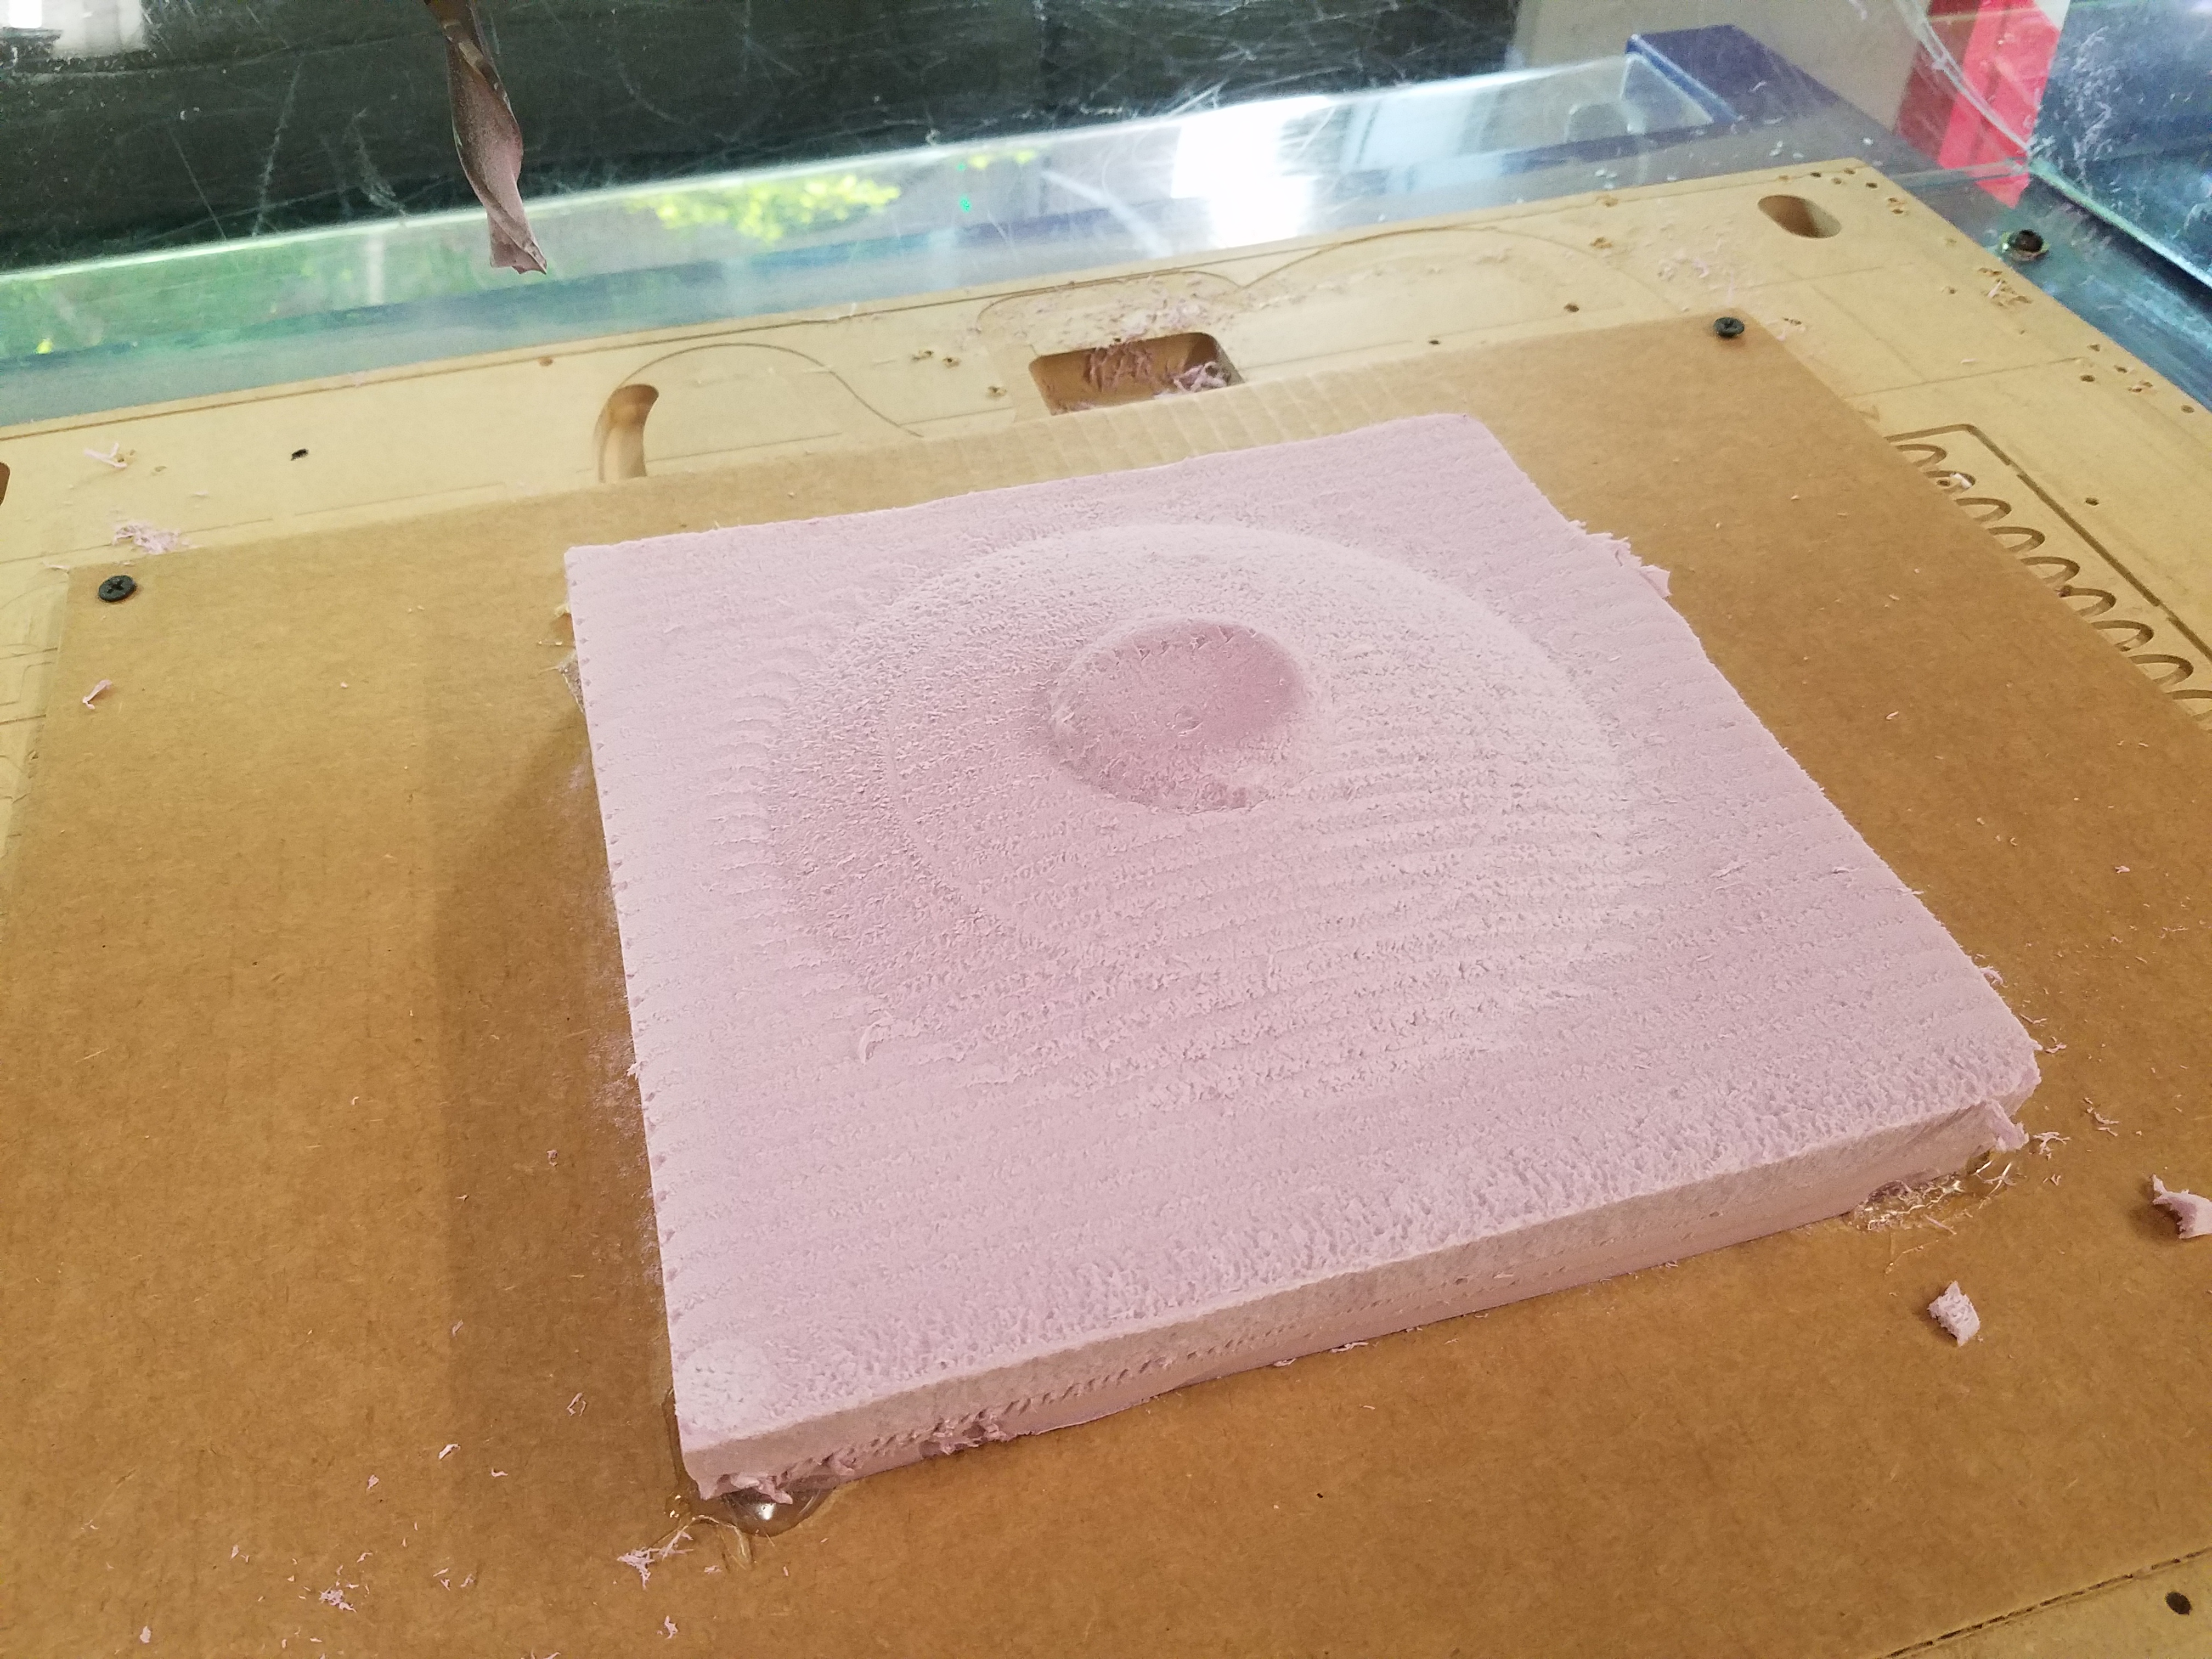
Next comes the "fine" phase:
…and voila. Now we have a good foam imprint of a UFO that can be used to create a nice mold.
Creating the Mold
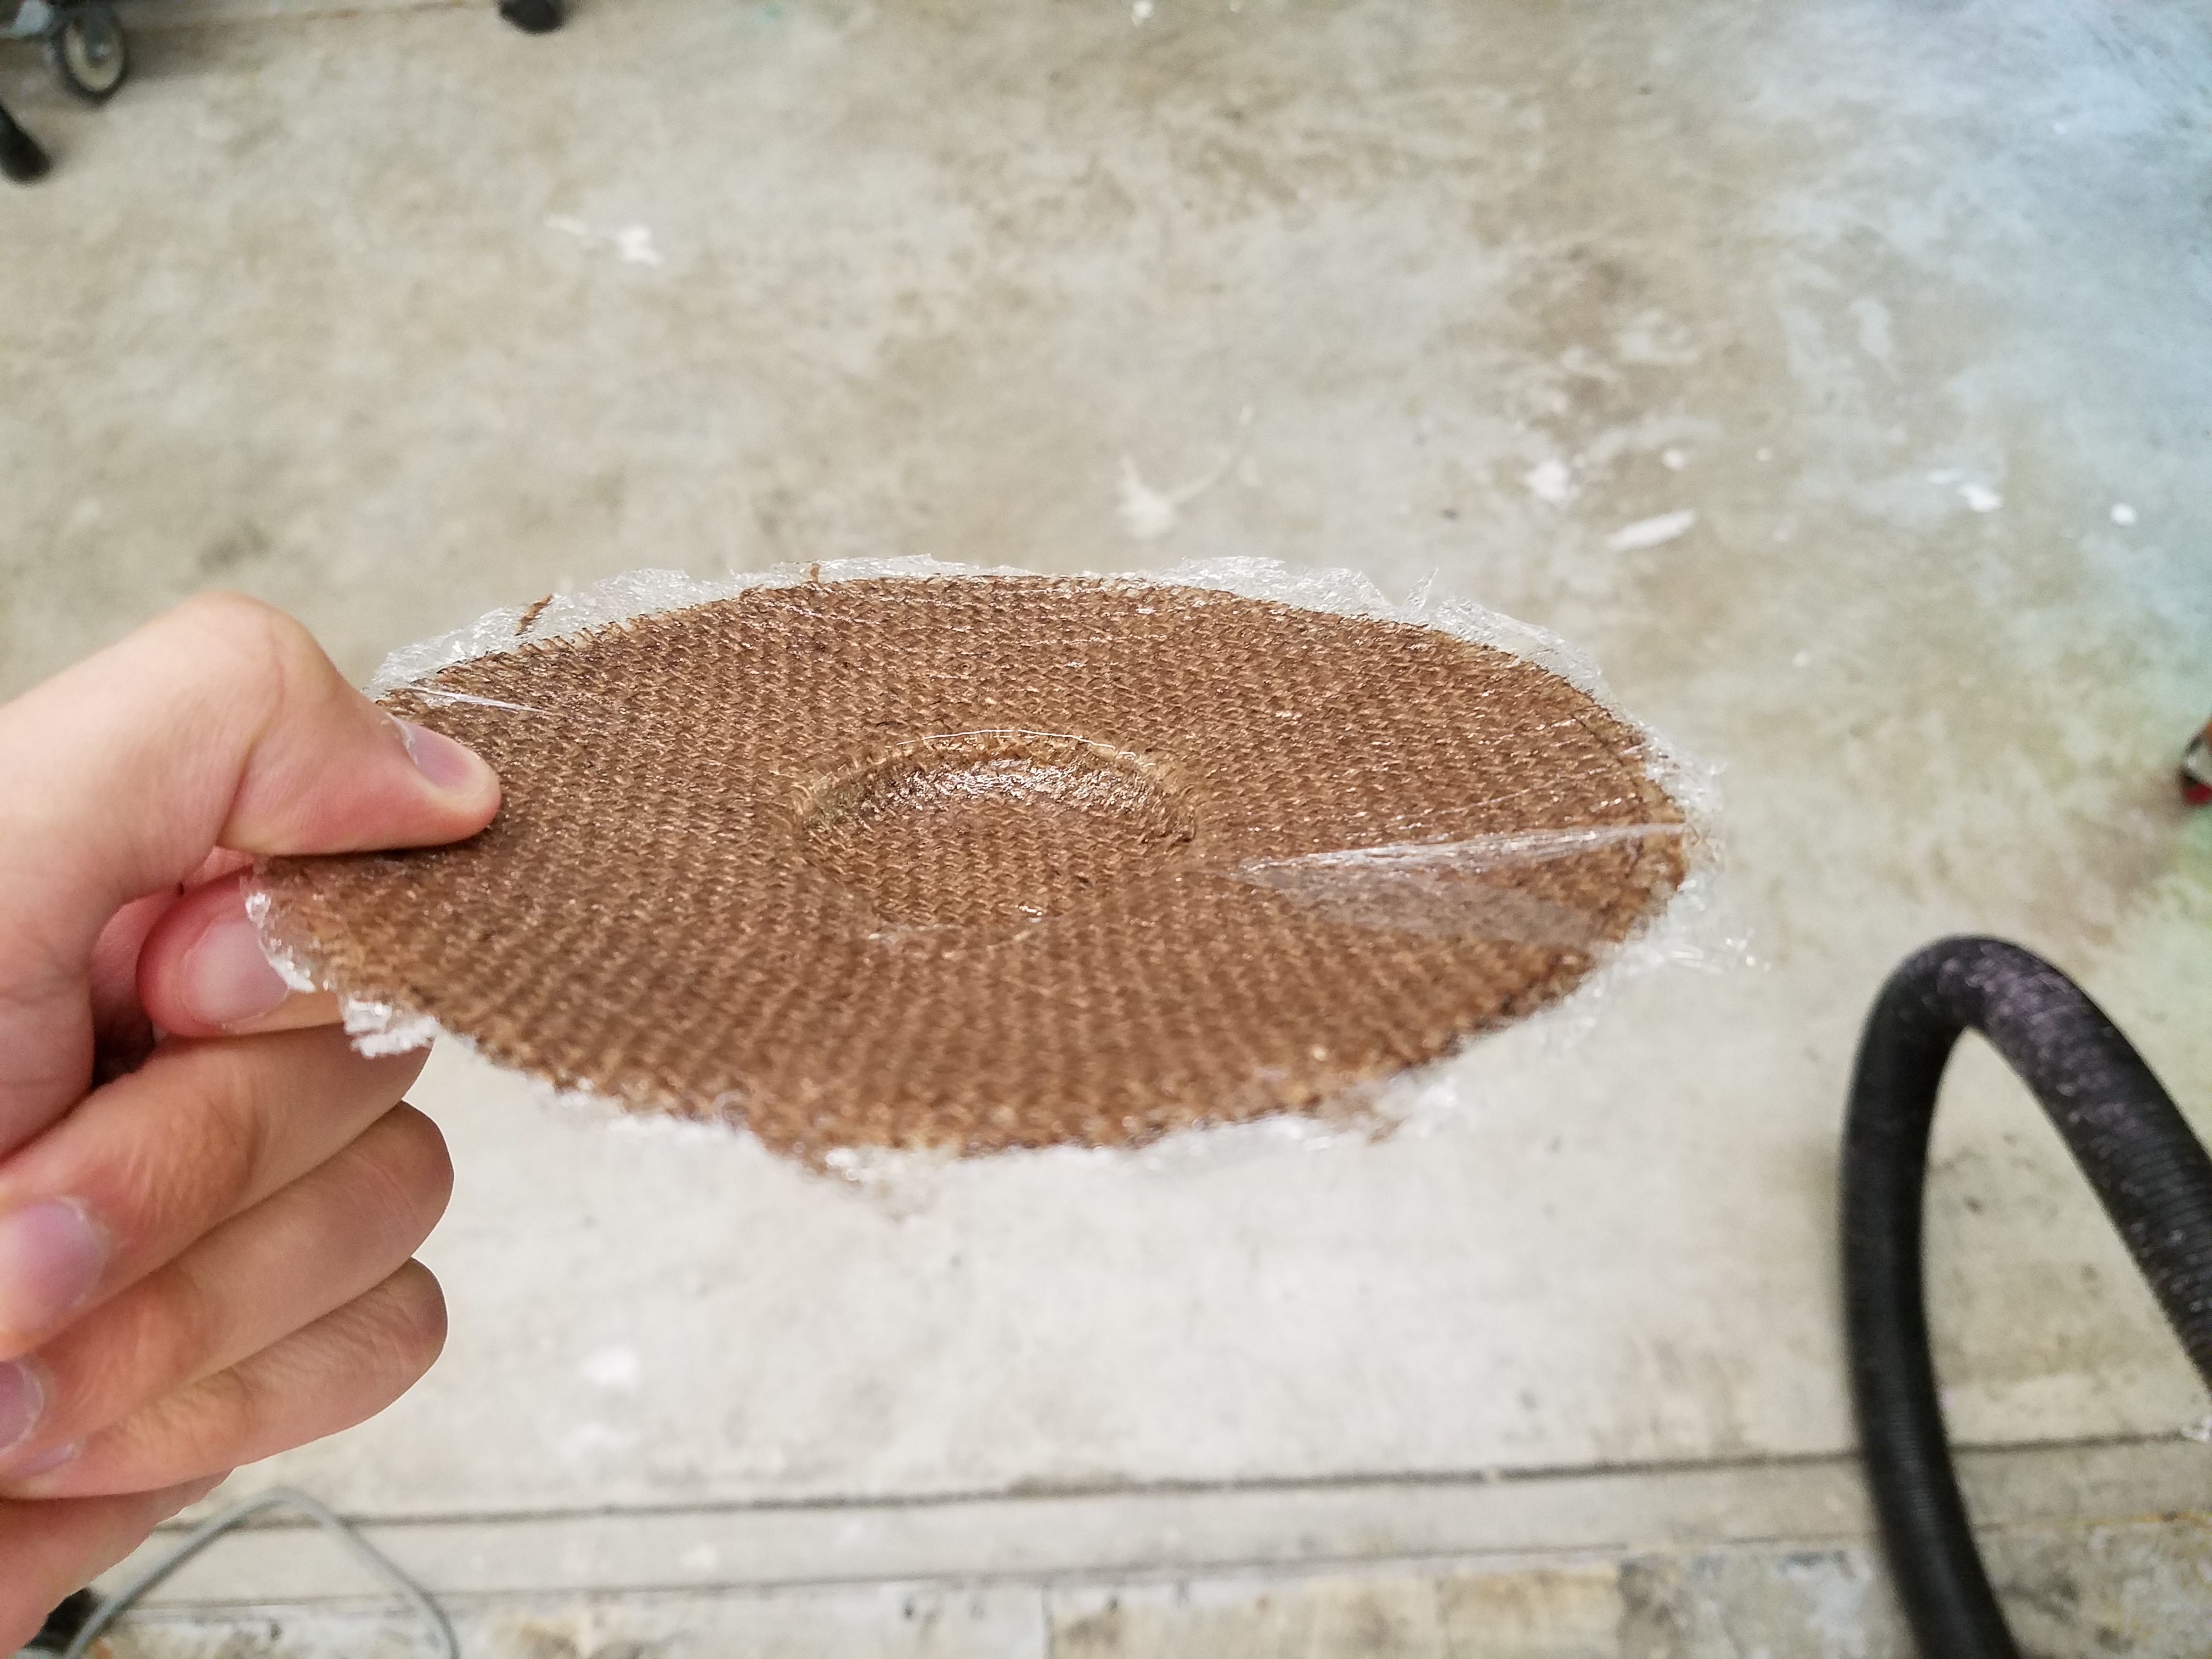
I used burlap to create this mold. The Thunder Laser cutter came in handy to cut out the circle shapes:
After applying these two layers to the foam imprint with some epoxy, the mold is wrapped in some plastic:
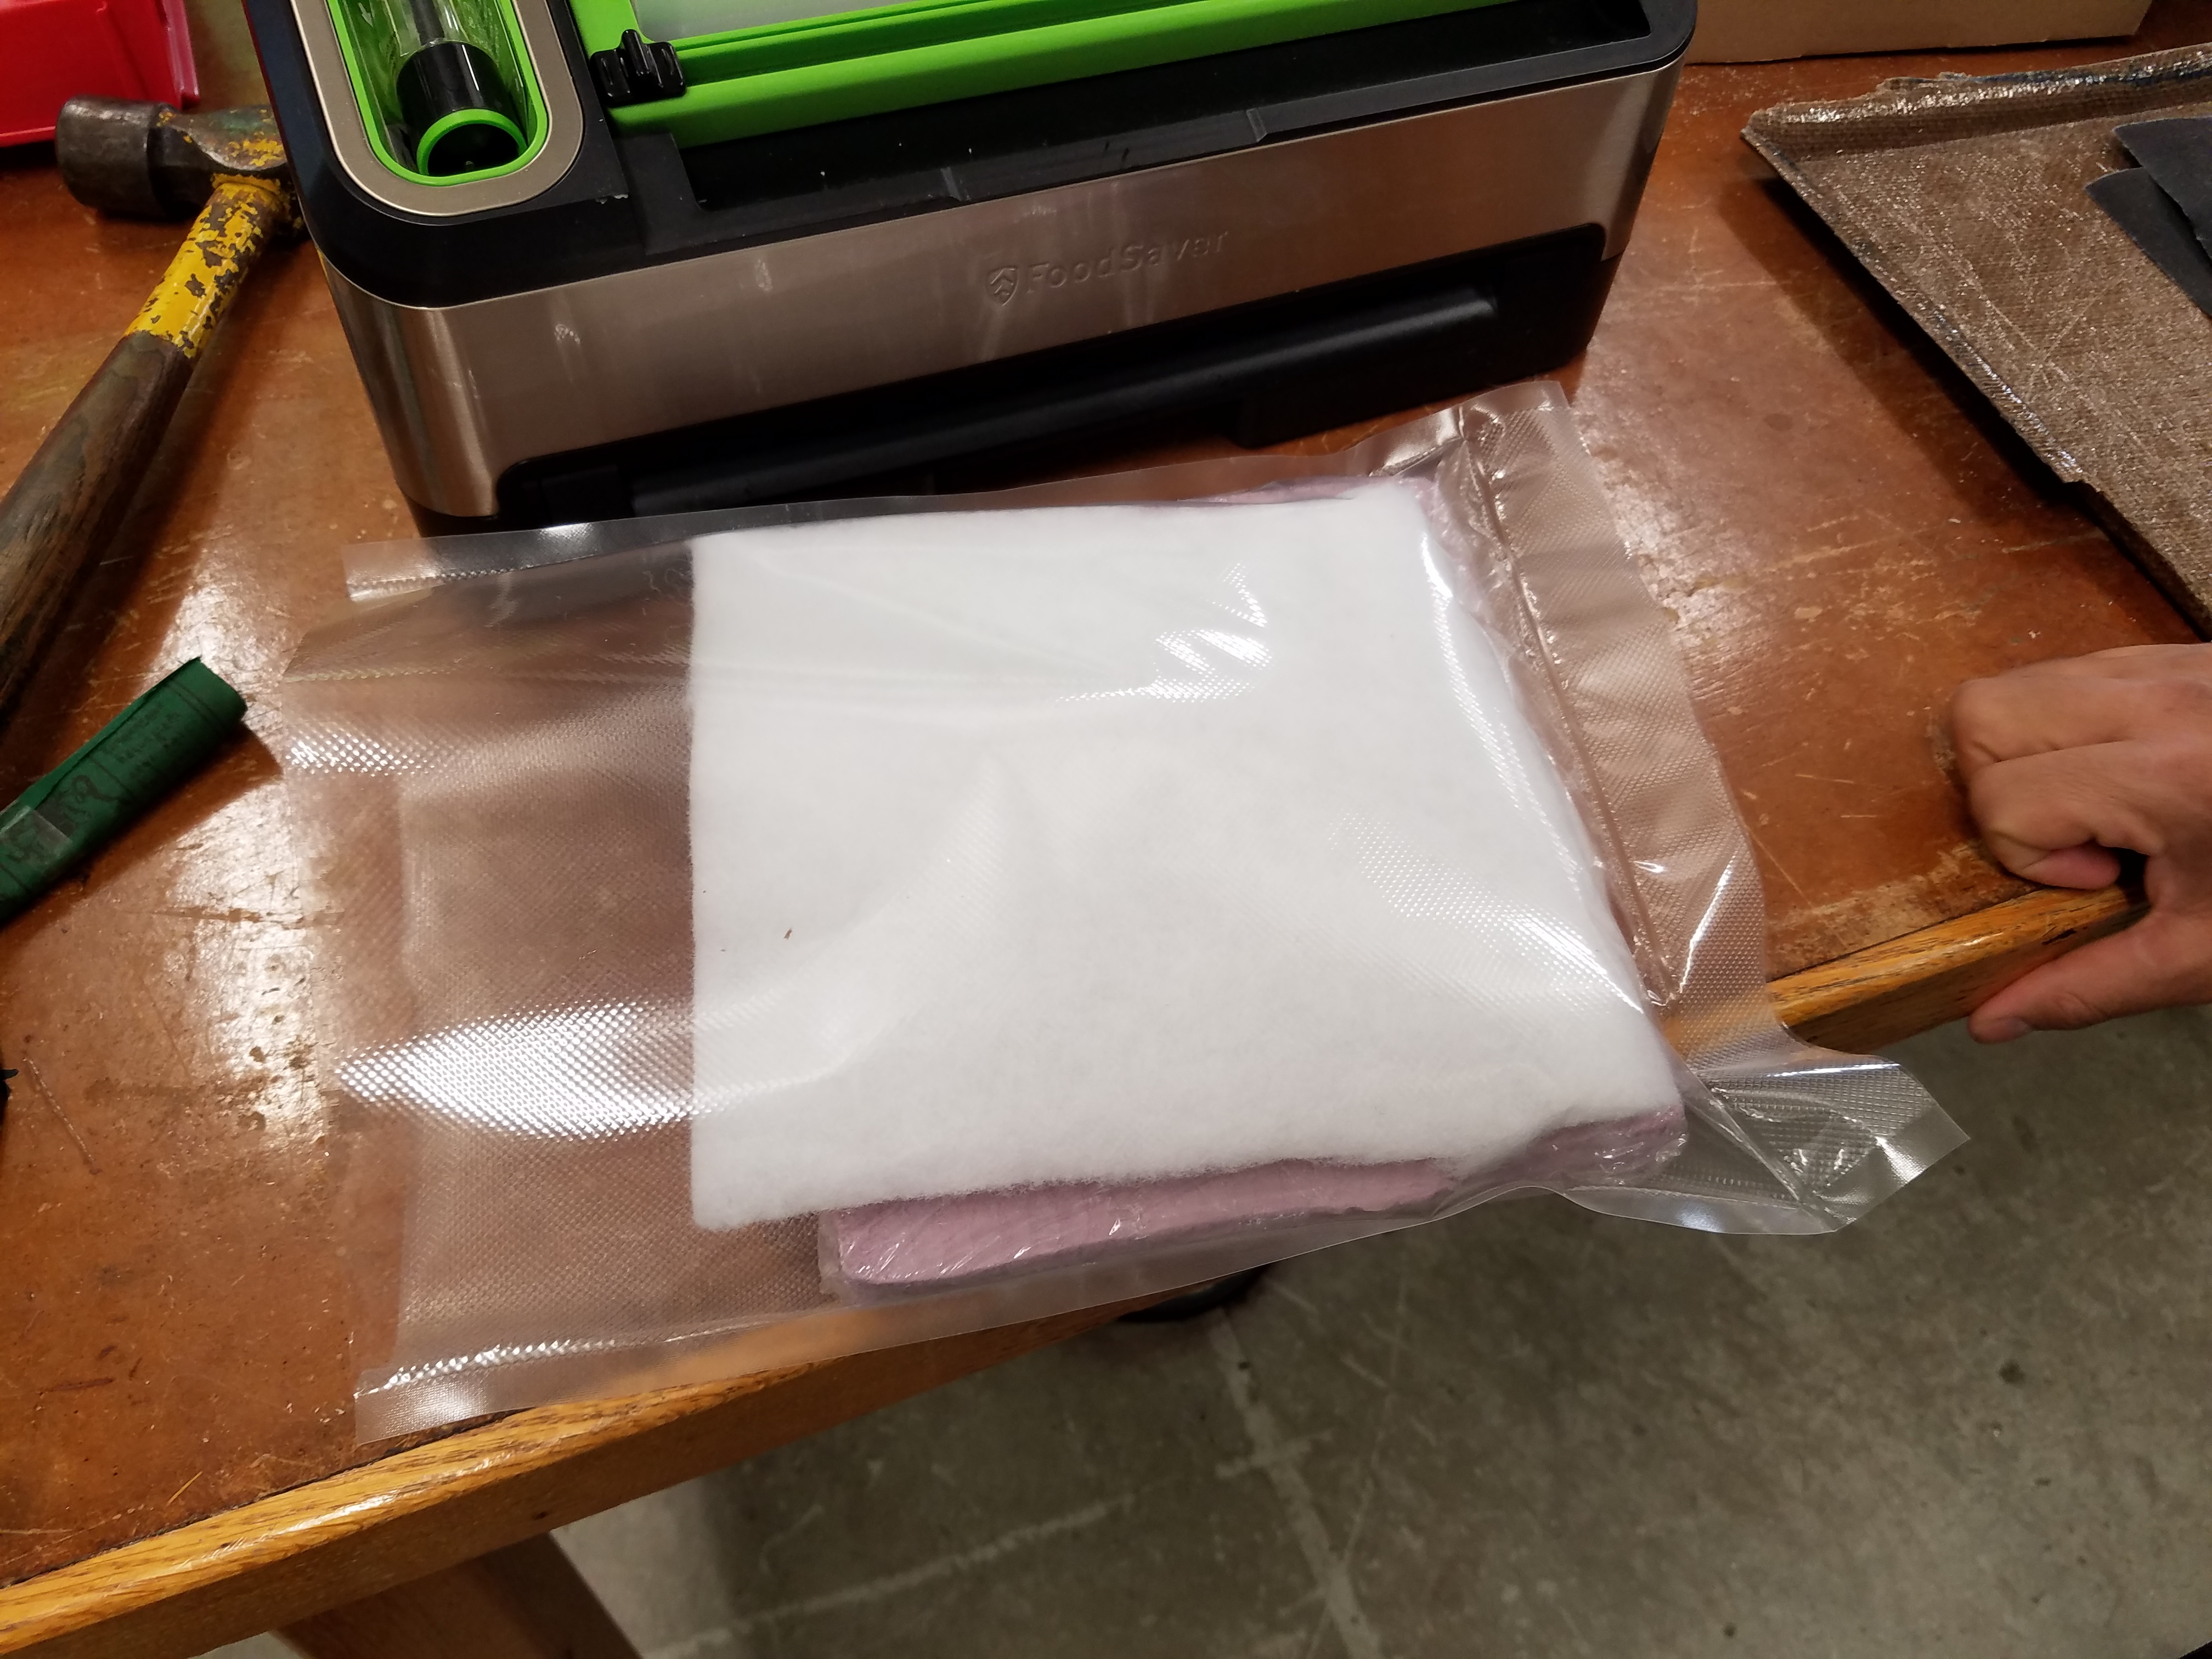
We can use a conventional vacuum sealer to evacuate the air from the package:
…and voila.
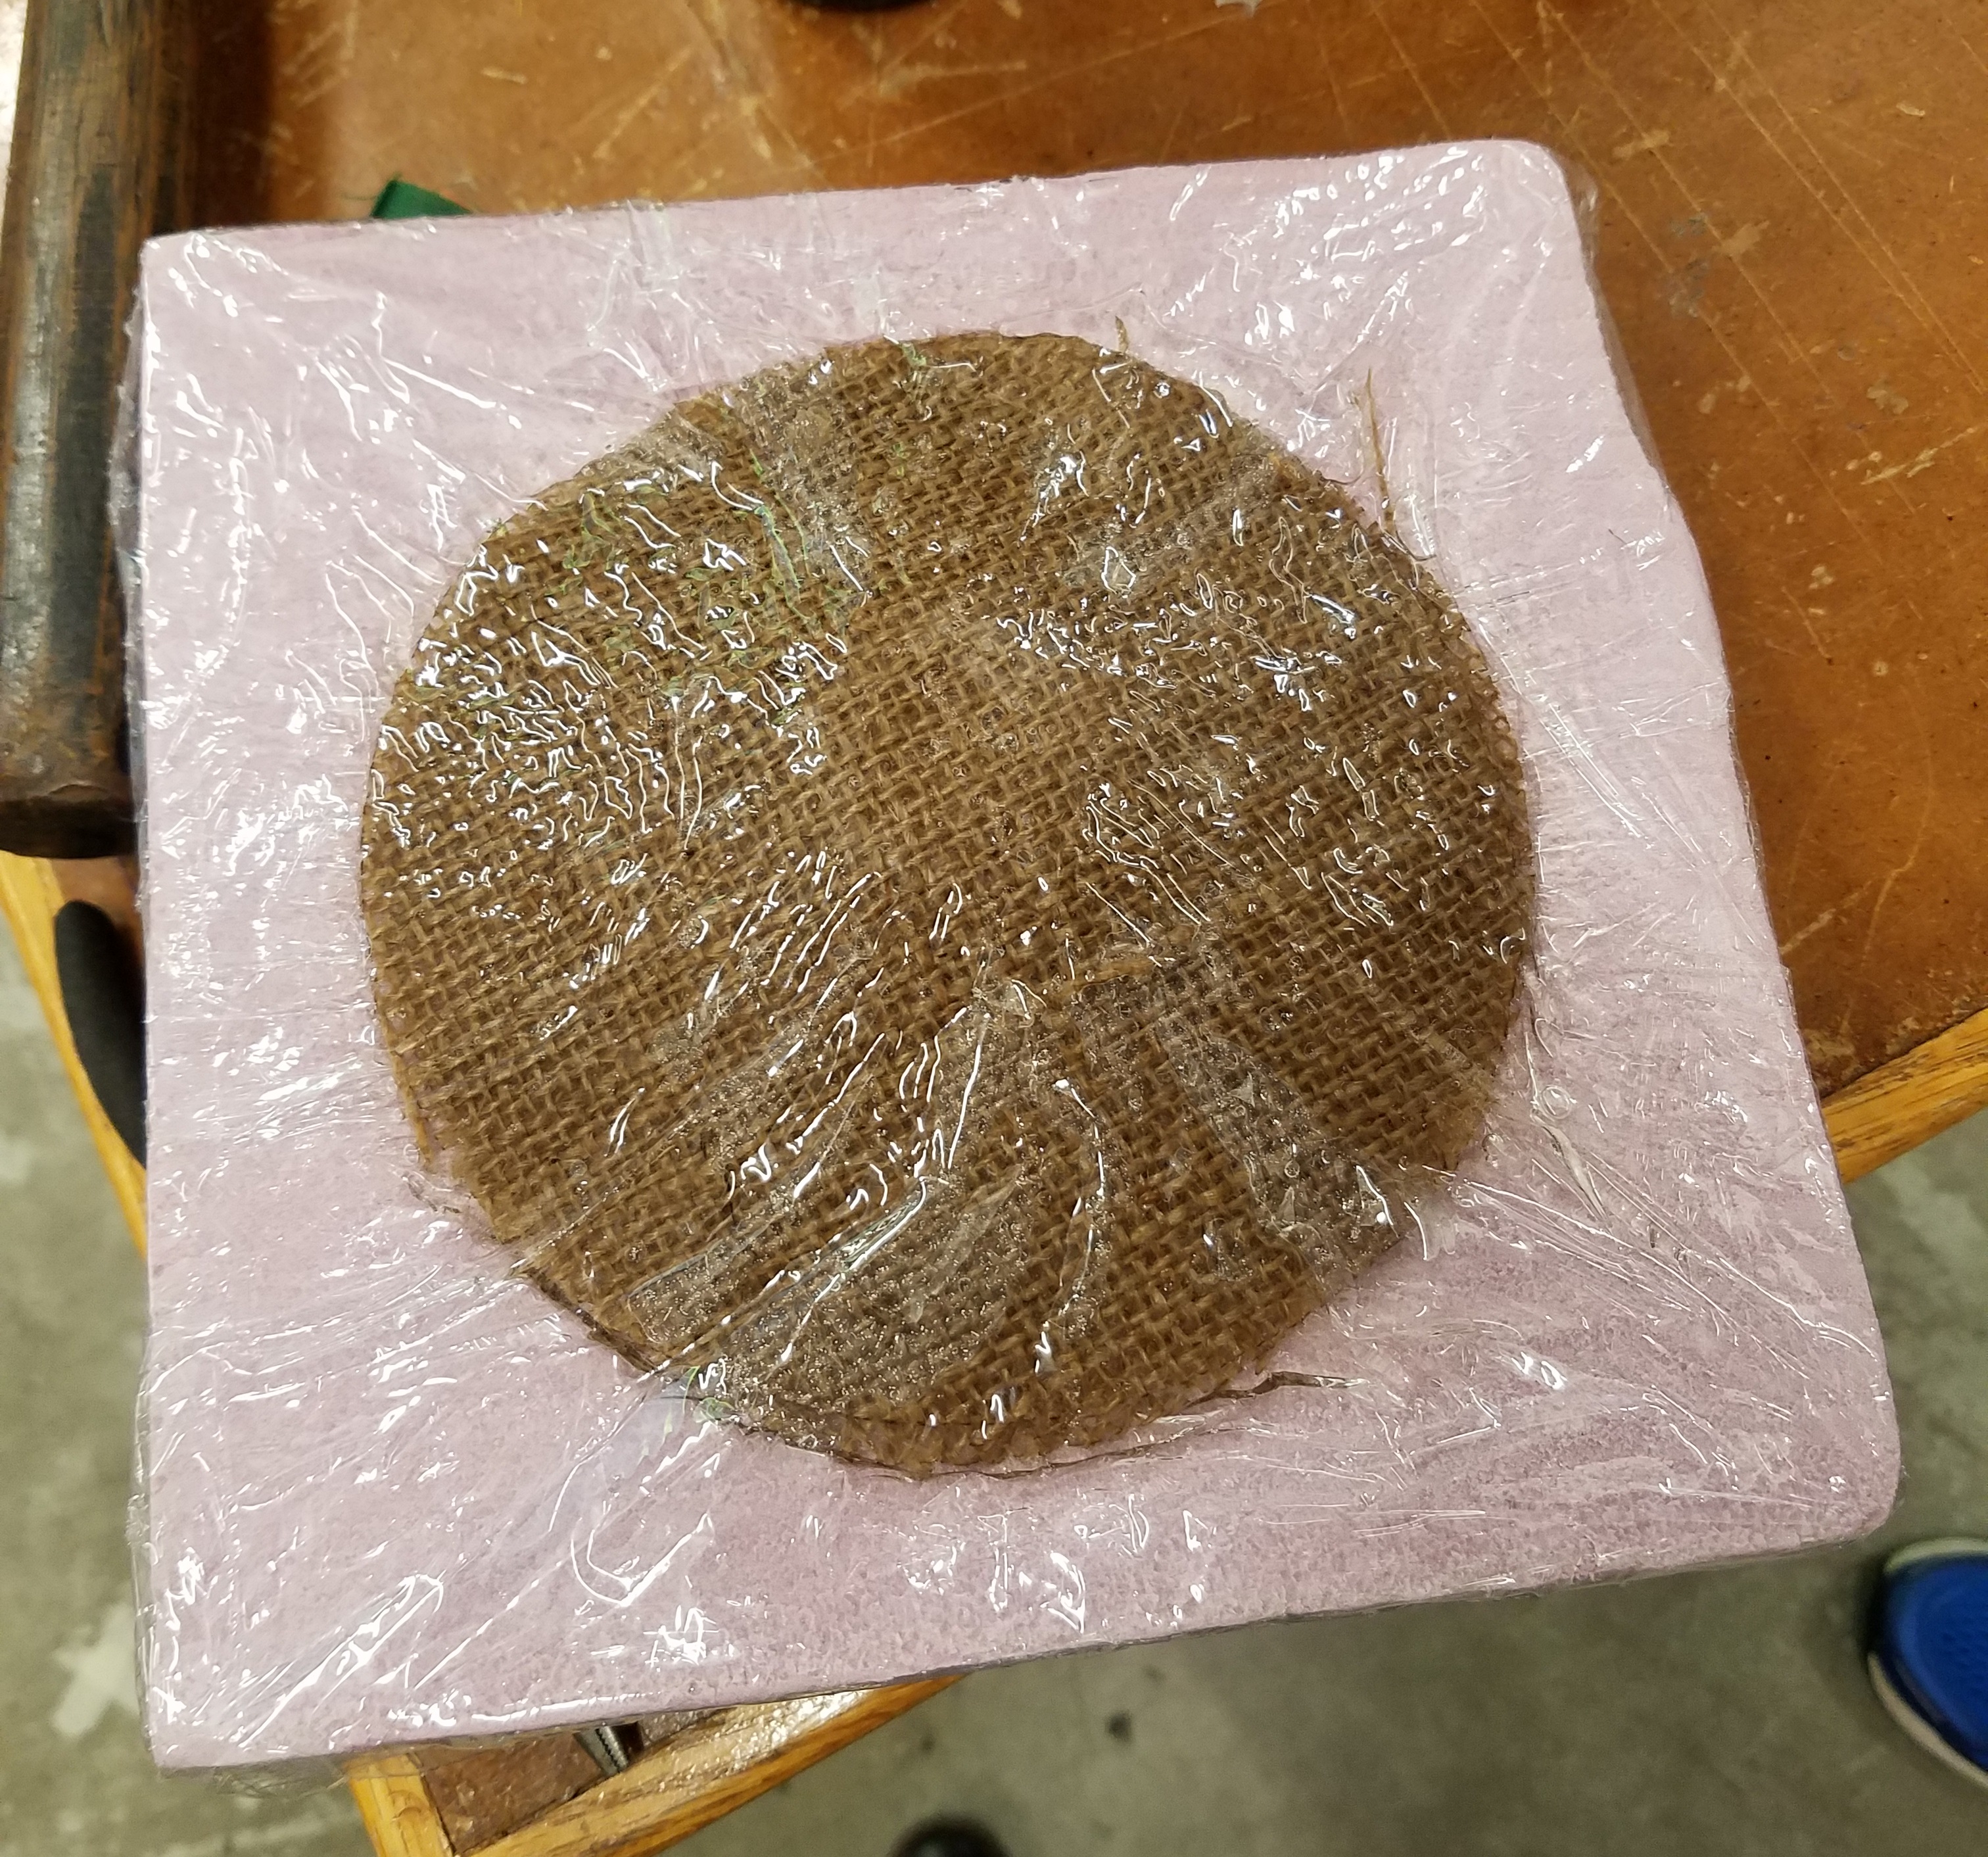
The final step is to simply let the package harden overnight and unwrap the mold during the next class session.
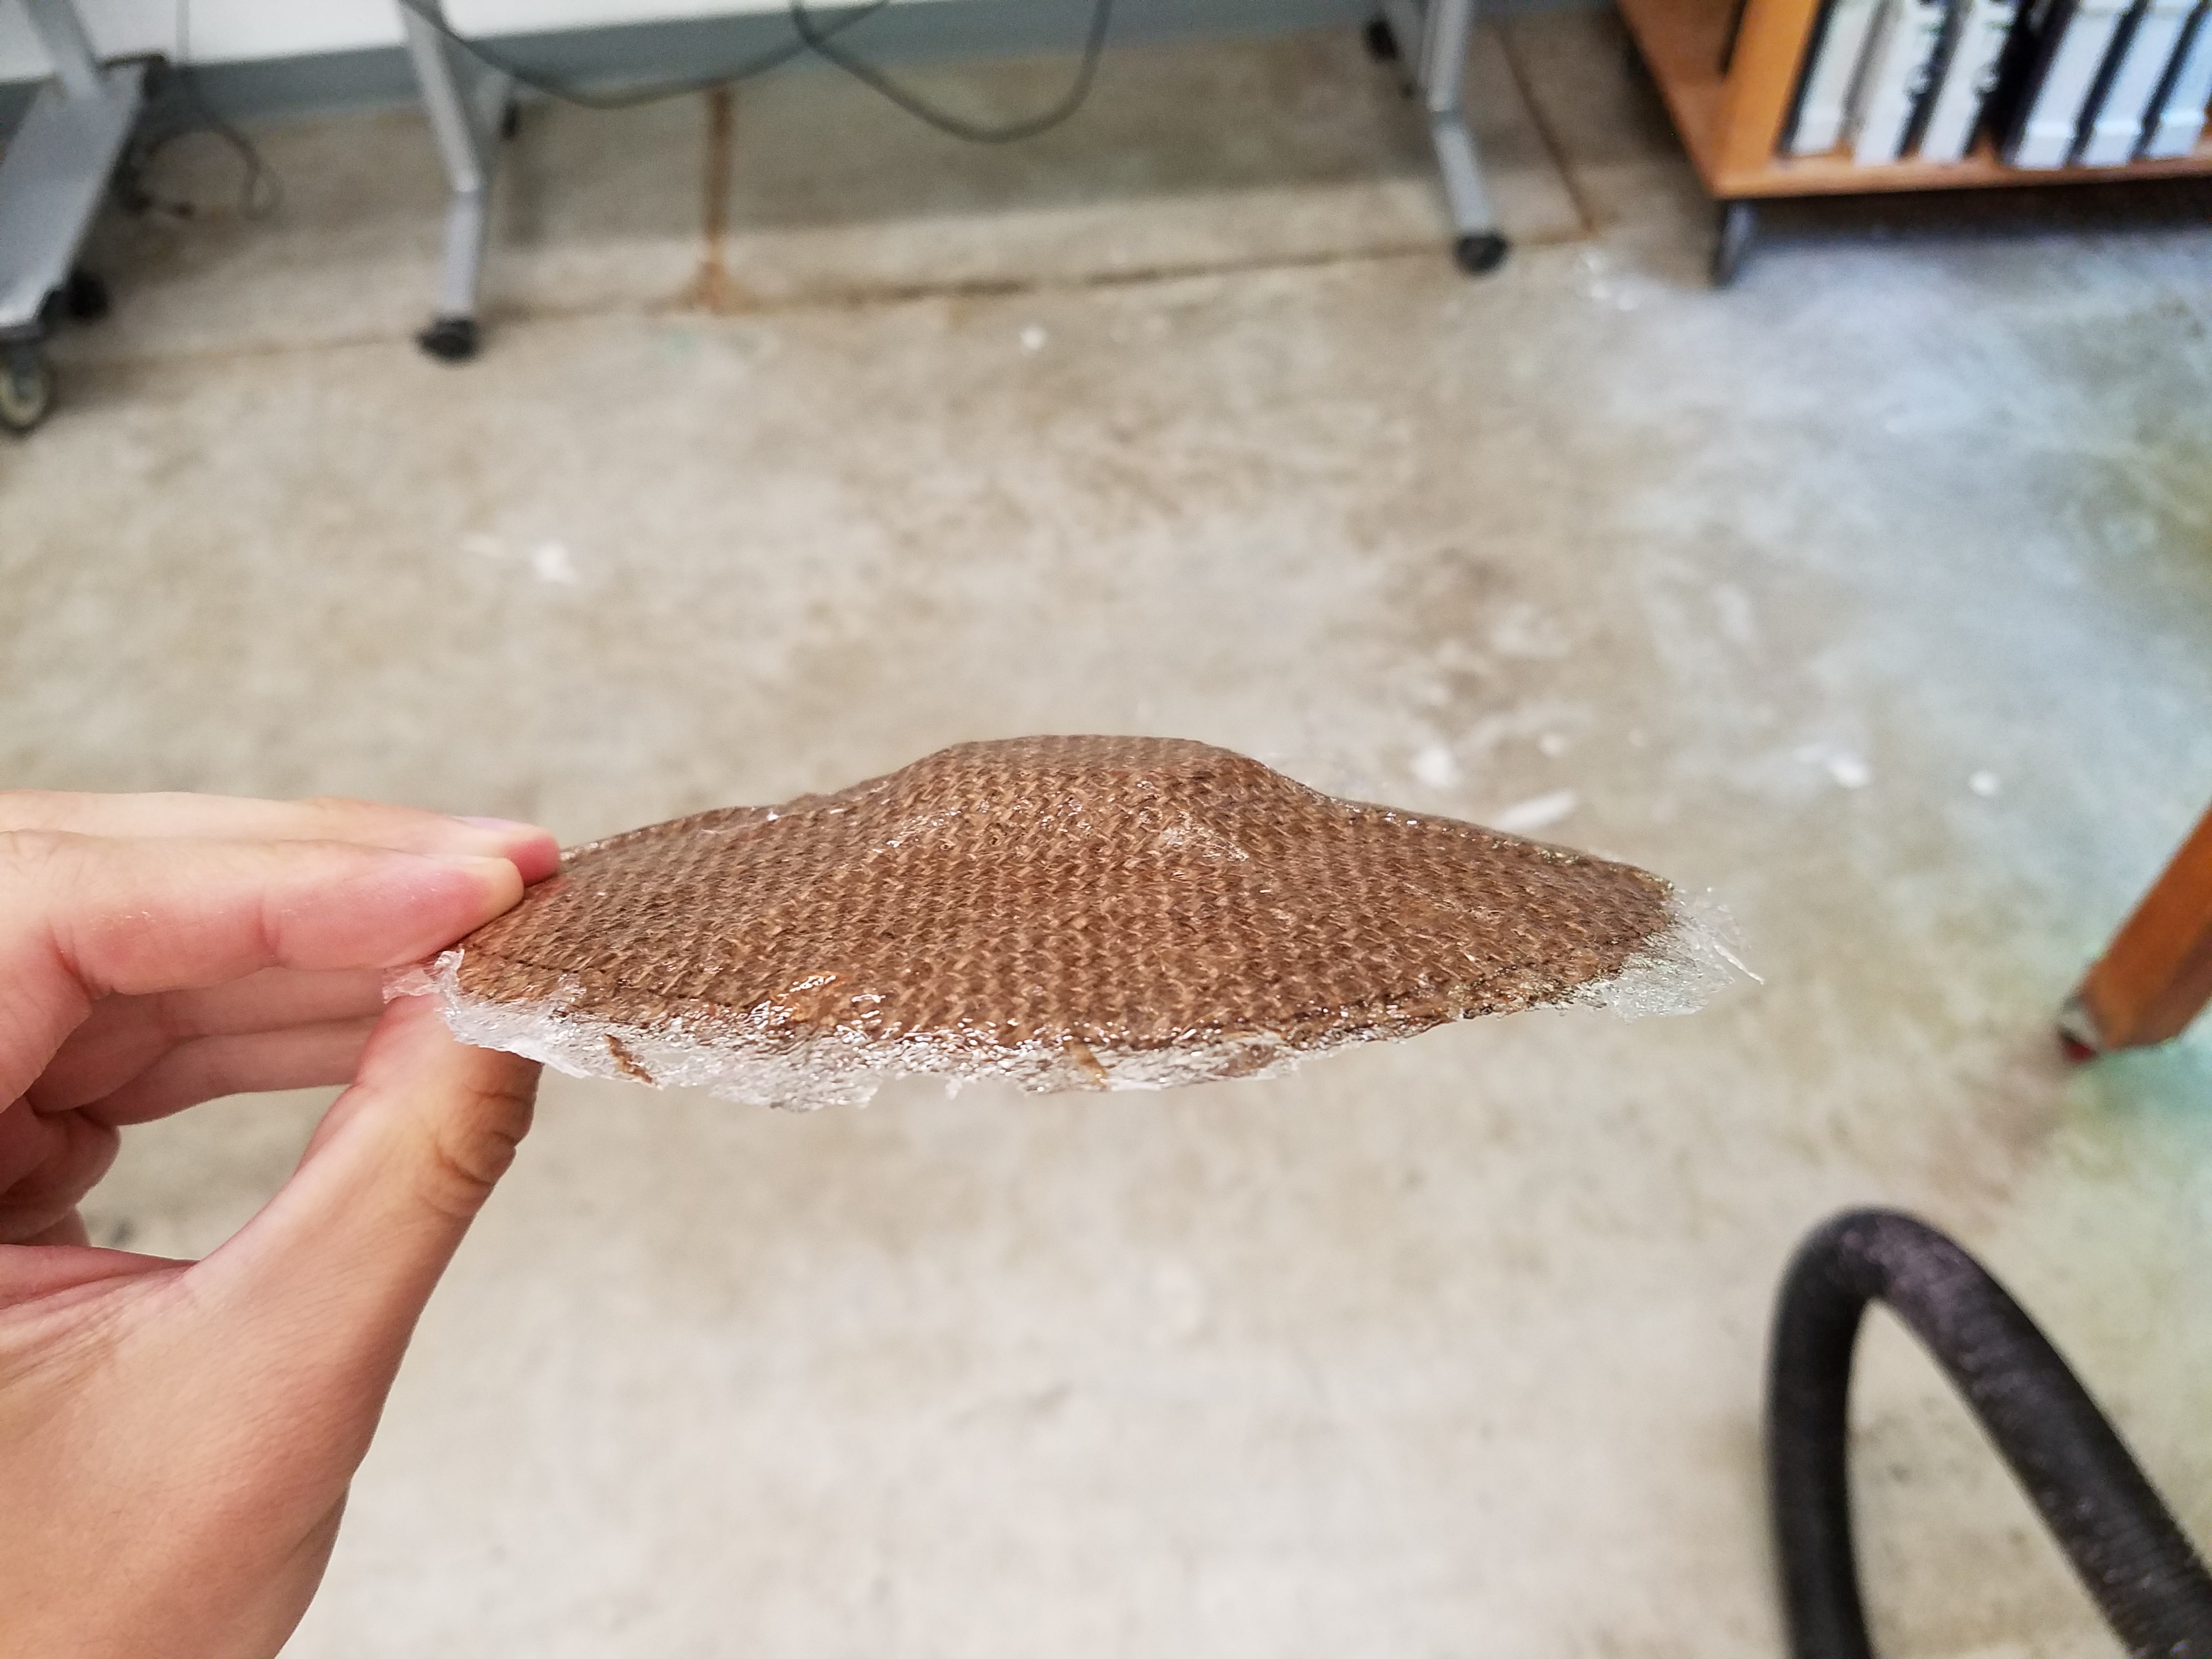
Well, I guess it looks more like a hat (or an egg) than a UFO at this point. Still, the mold was able to capture the tiny “windows” I designed in CAD, which is pretty impressive for a burlap mold.